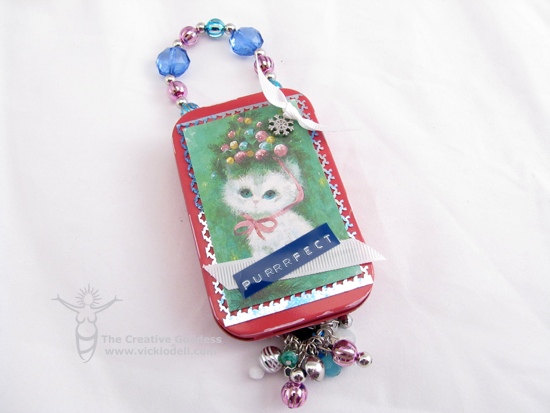
For the first time in a couple of years I’m crafting a little early for Christmas. And not just because this Christmas gift card and tin ornament project is part of the latest Cousin Creative Circle assignment but because I’m actually excited about it.
Perhaps the TRAUMA of working retail for 8 years is wearing off and I CAN get excited about holidays again?
I had gotten to be a bit of a scrooge about the holidays and I’m glad I’m getting back to my usual “lovin’ ALL of the holidays” self.
So yeah, that means you’ll start seeing some holiday projects around here, I hope you don’t mind.
Supplies:
- 5pc Tis the Season Snowflake Charms- Silver
- 13pc Tis the Season Glass/Acrylic Bead Strand- Blue
- 46pc Tis the Season Acrylic Bead Strand- Blue/Pink
- Silver wire – approximately 22 gauge
- Krylon Spray Paint – Indoor/Outdoor Gloss – Watermelon
- Steel wool or fine grit sandpaper
- Altoids or other tin
- Power drill and drill bit
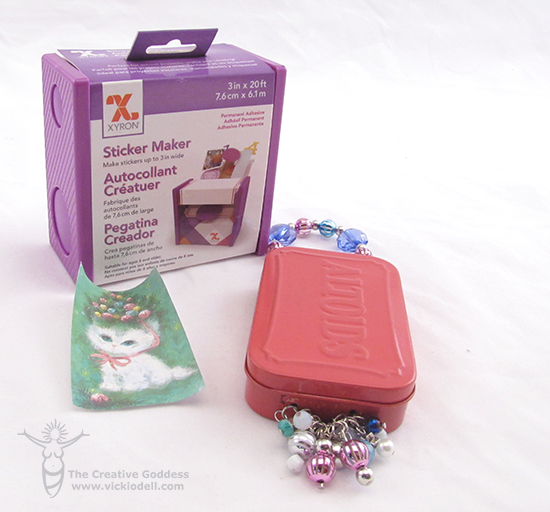
- Xyron sticker maker or other edge to edge adhesive
- Image from vintage greeting card
- Fiskars Mixed Media Shears – or other sharp mixed media scissors
- Chipboard or recycled cereal box cardboard
- Hot glue gun
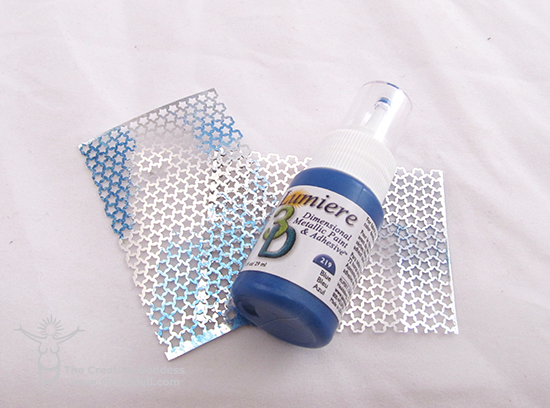
- Silver punchenello
- Acrylic paint
- Dymo embossing label maker and blue embossing tape
- White grosgrain ribbon
- Faber-Castell Stamper’s Big Brush Pen – White
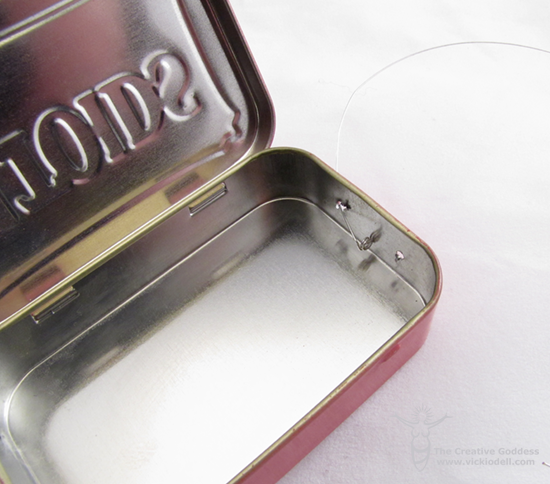
Determine the placement of the holes in the top (handle) and bottom of the tin and then drill.
Sand the surface of the tin on all sides and wipe down with a damp cloth or tack cloth.
Spray with Krylon spray paint and let dry.
Cut 8-9 inches of wire and create a coil on one end. Put the wire up through the hole as shown and then thread on beads. Push the other end of the wire down through the other hole to create the handle. Create a coil to keep the wire taught and in place and then cut off any excess wire.
Repeat with a second length of wire for the decorative items on the bottom.
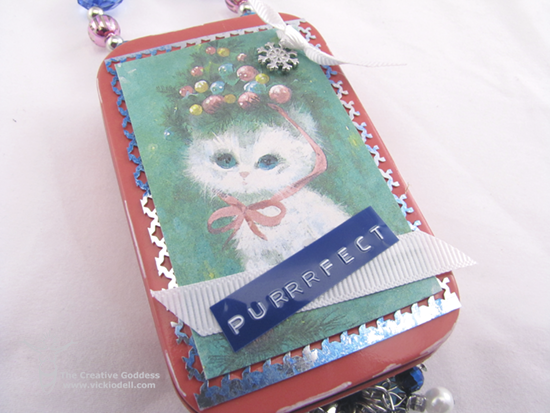
Run the vintage image through the Xyron sticker maker as directed and adhere to chipboard or recycled cardboard.
Trim to size.
Cut a piece of punchenello to size and dab with a bit of blue acrylic paint. Let dry.
Adhere the punchenello and cardboard to the front of the tin.
Create a “Purrrfect” label with the embossing label maker and cut a piece of grosgrain ribbon to size. Adhere both with hot glue.
Adhere one silver snowflake to the top right of the image with hot glue.
Cut a piece of grosgrain ribbon and tie a knot in the center. Glue to the top of the snowflake.
Finally, using the Stamper’s Big Brush Pen put a little white color on the edges of the tin.
I like the way this project turned out and I love that I was able to find a useful AND decorative way to re-use and Altoids tin. Gotta love when all of the crafting goodness comes together in one project. Right?

Cool little upcycle! that would be a nice “secret” gift holder for the Christmas tree!
Thank you JoAnn. That’s a great idea to hide the gift in the tree!