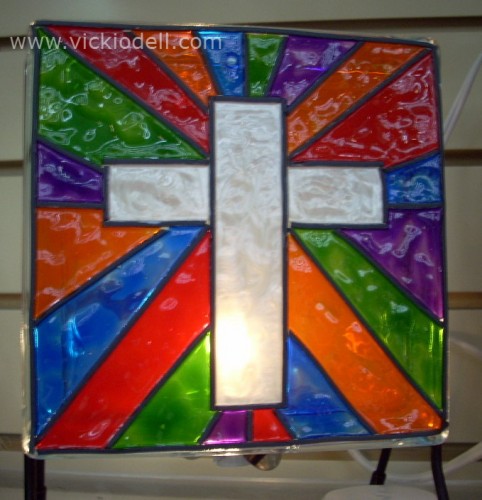
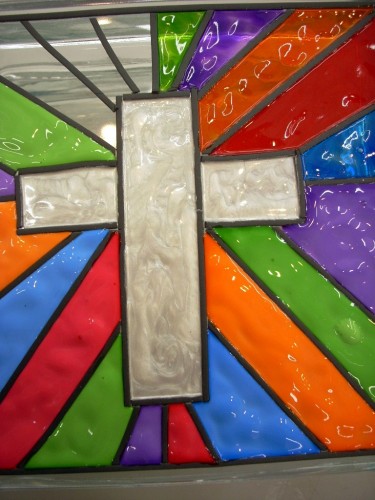
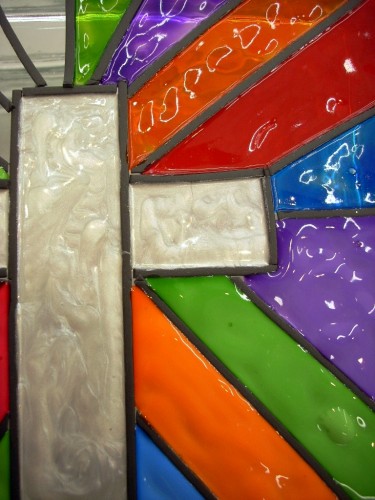
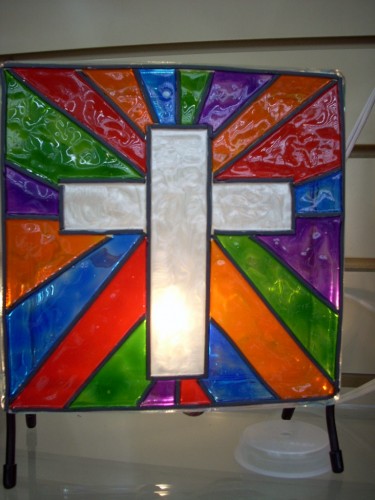
I posted about using Gallery Glass on The Krafty Blok not too long ago, and as usual for me, I had to keep on playing… so here is something else I’ve come up with that you might enjoy for your Easter decorating. I’m not a big fan of crosses and all of that but I know that a lot of people are. Sooo this is for those people.
Supplies:
Krafty Blok glass block in any size
Gallery Glass by Plaid – Lime Green, Blue Diamond, Pumpkin Orange,Ruby Red, Amethyst, and White Pearl
Gallery Glass by Plaid – Instant Lead Thin Lines
Craft Knife or Leading Trimmer
Mat with a grid (optional)
Gallery Glass Liquid Leading (optional)
Single bulb designer clip light – number 6402
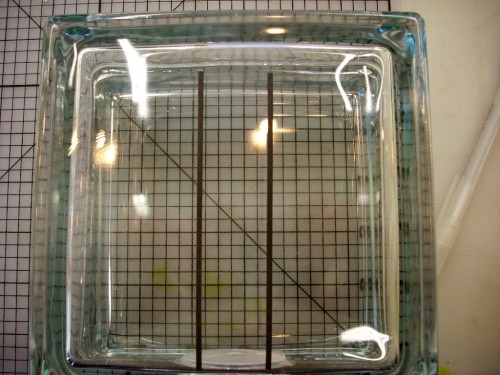
The first thing to do is clean the glass block with a glass cleaner and paper towel. Let it dry throughly. Place a mat with a grid under the glass block, if you’d like, to help you make straight lines when outlining the cross.
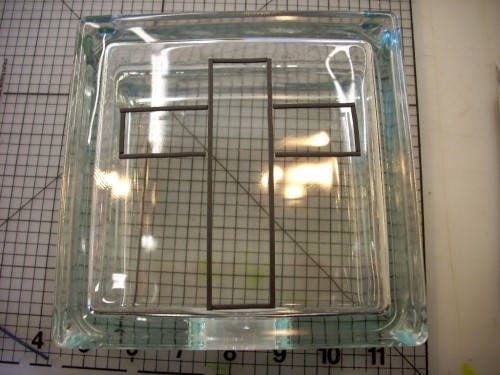
The next step is to position the lead lines to make the cross shape. Lay down the center vertical pair first and then the top and bottom horizontal lines to make the center column of the cross. Lay the lead lines down and cut them right on the glass block with your craft knife, being careful not to stretch the lead, this allows you to make your lead almost an exact fit.
Then do the longer horizontal lines and then the vertical lines at the ends. If you don’t like the size, width or shape of your cross, the lead lines can be picked up and re-positioned. Just be careful not to stretch the lead lines while moving.
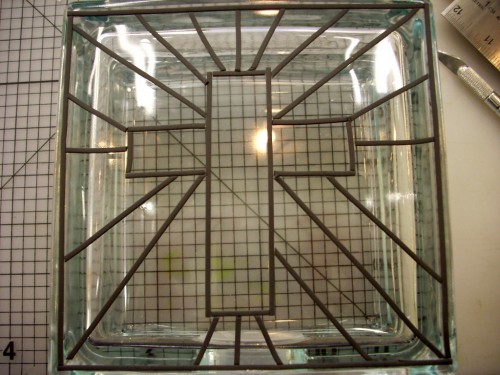
Lay out the lines for the background. I made my lines by dividing the glass block visually into quarters. You’ll see there is a line right down the middle and straight across the middle. Then I segmented those quarters fairly equally and laid down more lines. Mine aren’t EXACTLY the same width apart or EXACTLY the same on either side and I like that.
You may wish to touch up intersecting lines by squeezing small amounts of Liquid Leading into any open spaces or corners that don’t quite meet. Let the Liquid Leading dry completely before painting I didn’t use the Liquid Leading and it looks just fine to me and I was able to keep working and not have to wait for the Liquid Leading to dry.
I started off painting the cross with the White Pearl Gallery Glass and then painted the outside sections (work from the center out toward the edge). You will notice I did not paint them in exact order but just a little randomly. In the above photo you can see that the top colors are dry and the bottom colors are wet. The wet paint dries semi-transparent.
Continue filling in all of the segments with color. Make sure to pop any tiny bubbles that appear while you are filling in color. If you go slow bubbles are less likely to form. Let dry over night, put a single bulb designer clip light into the bottom of the Krafty Blok and set the finished block on a wire stand (sold separately from the Krafty Bloks). That’s all there is too it!
If you are thinking of purchasing some of the products I use to make Krafty Blok Glass Block Crafts, I hope you’ll consider purchasing from my affiliate links:
