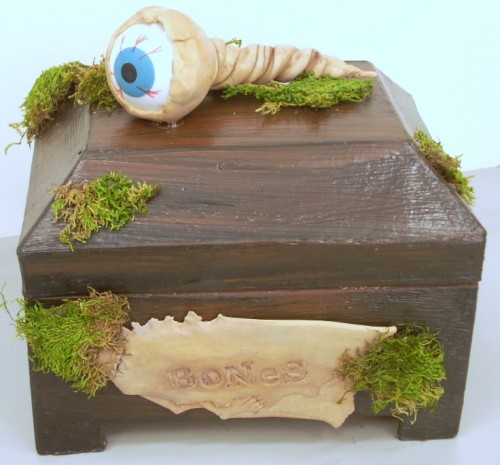
Yeah, I know. I went a little overboard. Kind of creepy. Kind of gruesome. But wayyy too much fun!
I won’t give you step by step instructions for making this but a general idea of what I did instead.
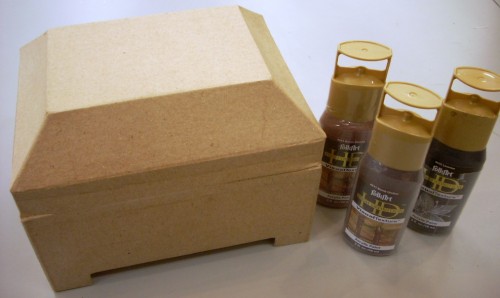
I used Folk Art High Definition Paint on a paper mache jewelry box. I base coated it in Licorice and while that was still wet I went over it in Burnt Sienna and Burnt Umber. Drag the browns through the black. Let dry.
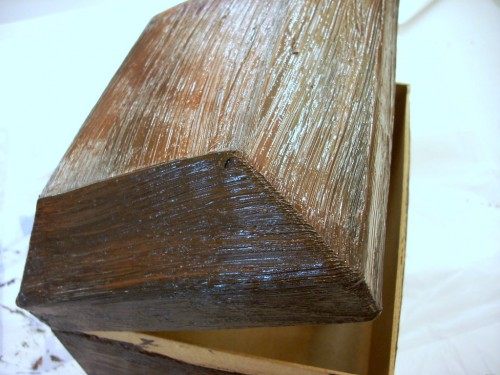
You can see in this photo how I mixed and blended the colors. Leaving lines in the paint gives the look of really old, badly treated wood. Like a box that’s been buried for years and years.
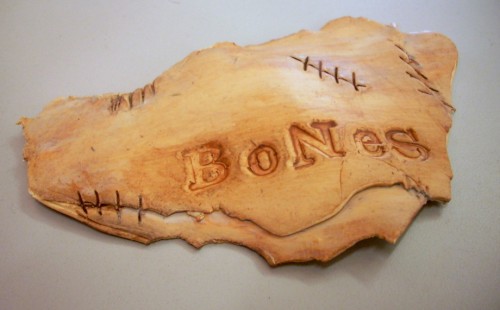
For this bit of “skin” I used Sculpey III polymer clay. I actually got the idea from Hocus Pocus. You know, the movie about the 3 witch sisters? I just watched it the other day to get my Halloween crafting ideas flowing…Their spell book was covered in skin. CREEPY!!
Anyway, I used 1 part of Tan clay to 3 parts Ivory clay. Condition, run through the pasta machine, fold it over on itself and tear chunks out of the edges until you get the look you like.
I used a wooden skewer to put the stitch lines in and rubber stamps for the word “BONES”. I painted over the clay with watered down Folk Art Paint in Burnt Umber, Burnt Sienna, Steel Gray and Italian Sage. Just play around with it until you get the look you like, applying paint and wiping it off with a paper towel in multiple layers. Bake the clay according to the package instructions.
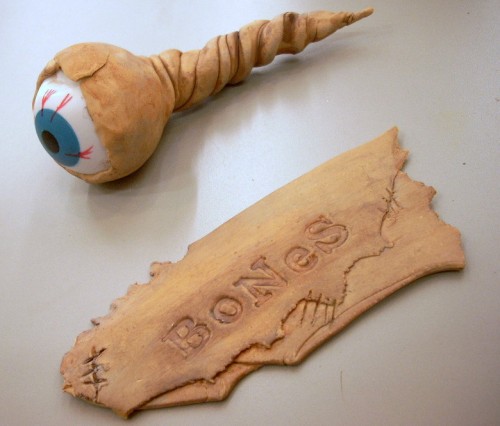
The eyeball was a big, old, mad scientist experiment. I used the same ratio of clay and then formed it around a plastic ball eyeball (It’s a lot like a ping pong ball with an eye on it). I washed it with the same watered down paint colors and gave the excess clay a twist off the back. Just play until you like the way it looks.
Near the end of baking the ball POPPED but the eye didn’t really lose it’s shape, it just looks a little deformed, in keeping with my creepy look. So I kept it.
I glued the eyeball, BONES and moss on with Amazing Goop.
What do you think? Too creepy or a lot of fun? Will you make one?
TIP: Leave a bottle of paint propping the lid open over night to keep from painting the box shut.
Post Notes: Originally posted on my typepad blog October 2010
Awww, thanks Amy. You’re the best! 🙂
SO COOL Vicki! Posted about it on the Plaid FB group, and LIKED you! xo
Thanks Jenny! It was one of those projects that made me giggle a little while I was making it. I guess I should start using that as a gauge. If it makes me giggle… it’s a keeper! LOL!
This is super-fun! I really love the FolkArt HD– it gives great texture! As always, great ideas, lady.