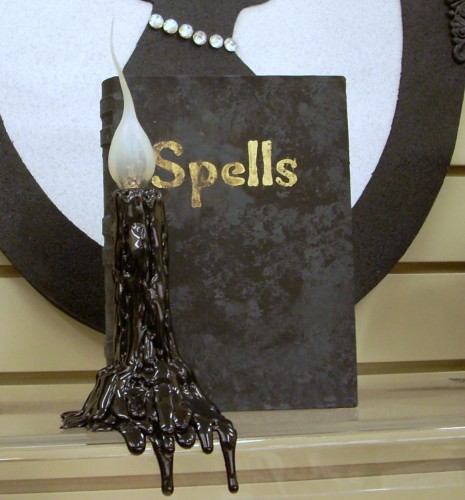
If you are all about instant gratification crafts then this one isn’t for you. It takes some time but the end result is super cool and it’ll last several years.
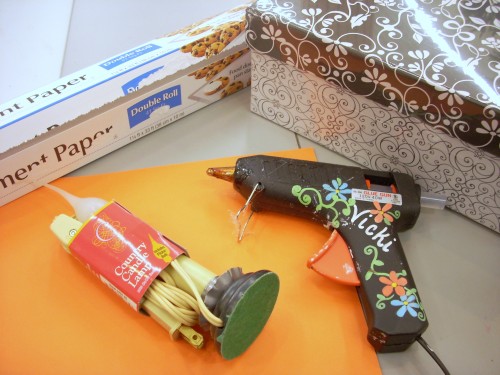
You will need:
- Shoe Box or Other Sturdy Box
- Electric Candle
- Hot Glue Gun
- Glue Sticks
- Wilton Parchment Paper
- Plastic Bag
- Black Spray paint
First, wrap your sturdy box in the parchment paper. For some reason the hot glue doesn’t stick to the Wilton parchment paper. I have seen it stick to other brands though. Weird! It’s tricky getting tape to stick to the parchment as well so you’ll probably end up taping the parchment to the box. Also, place the box on a sheet of the paper so that as the glue drips it won’t stick to your work surface.
Take the bulb out of the candle and set it aside.
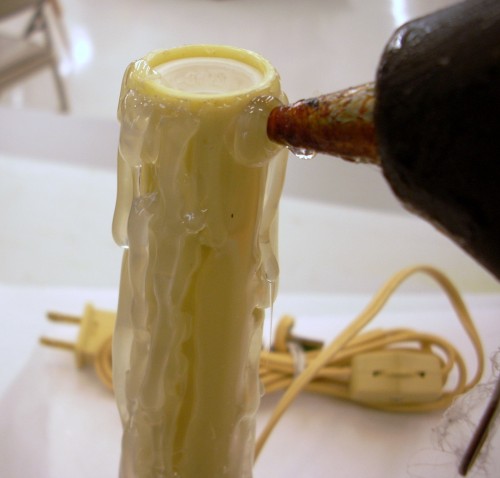
Next add the hot glue to the candle. Start at the top and make fake wax drips down the side of the candle. Let the glue drip over the base and down the side of the box. Be very careful not to get glue down inside the candle.
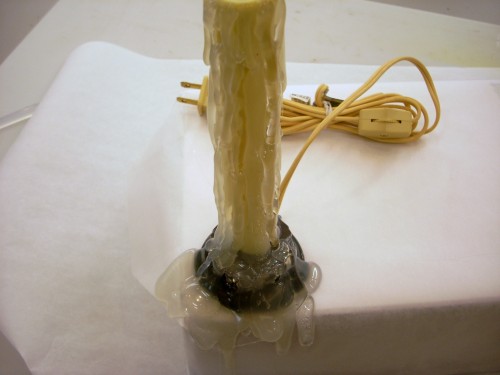
This is a project that takes a while. You’ll have to keep coming back as the glue gun heats the glue sticks and add several layers of glue covering the entire candle stick. It’s best to let the glue on the candle set up and cool every now and then so you can see where you need to add more glue. Let the candle set over night to cool and harden.
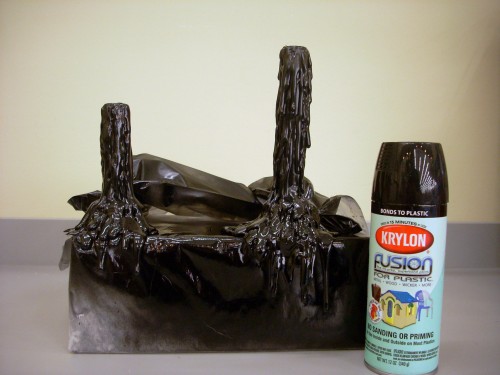
Place the cord in a plastic bag and tie the top closed to keep the cord from being painted black. Either replace the bulb if you aren’t going to use the one that came with the candle stick or place something in the top of the hole (a cotton ball works well as long as it doesn’t spill out onto the glue/wax). You do not want to get paint inside the candle stick. Spray paint until you get the look you want. Several light coats are key. I tried a couple of different brands of spray paint and I like the way the Krylon Fusion looks.
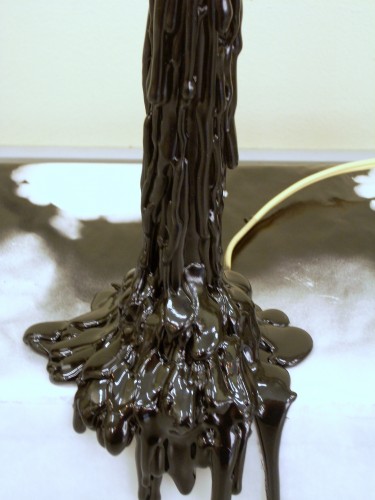
Here is a close up of the base of the finished candle stick.
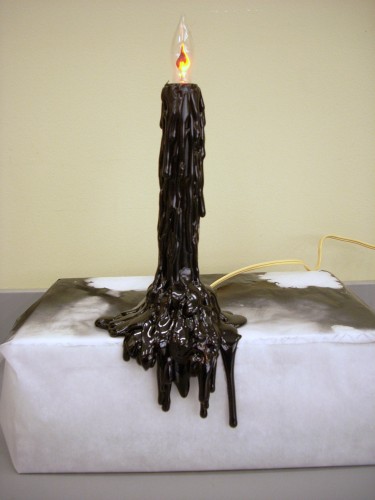
I replaced the bulb that came with the candle with a flicker bulb for a more dramatic effect.
Quick Tip: Want things to move along a little faster? Get two or three glue guns going at the same time.
And just in case you don’t have the time to spend MAKING these I have some for sale in my etsy shop

Very nice.. It does take time but a very beautiful and spooky project….
Can’t wait to scary my friends on Halloween Night….
wow- this looks fabulous! I don’t care/mind that it takes time, but the overall look of the decoration is spooktackular! Some things just take time! I love this! Thank you for sharing!