Hey there! I have a post over on Craft Test Dummies today reviewing Bezel Effects by ImpresArt and I thought I would share a couple of tips I’ve come up with to make pouring ICE Resin easier.
My first ICE Resin tips is one that is really important – when pouring and curing resin the surface should be completely level. If the surface of the table isn’t level the surface of your resin won’t be level either.
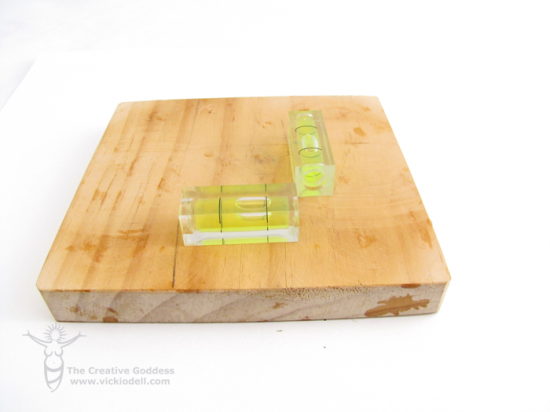
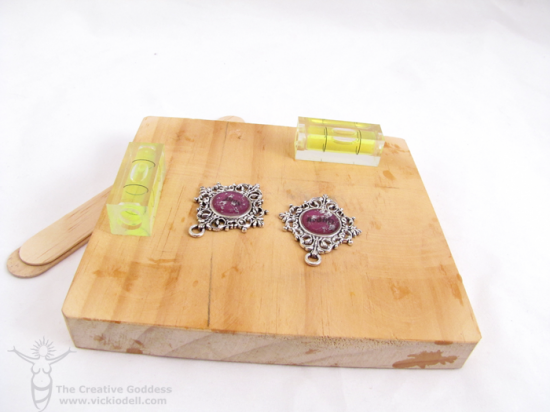
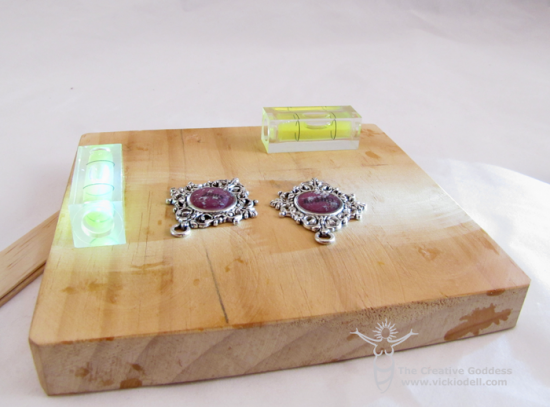
In my basement studio it’s particularly tricky as all of the floors slope just slightly toward a drain in one corner of the room. To make my pouring and curing surface level I have several of these blocks of wood around and use them to poor and dry my resin filled bezels. I picked up several small levels at the dollar store and I level out each block before pouring ICE Resin. I shim the corners or sides as needed with craft sticks or paper depending on how much leveling needs to be done.
The other trick I’ve found is that a flashlight placed to the side of the bezel helps me to see when the bezel is exactly full enough without over flowing. It’s especially helpful if you have a lot of overhead lighting – and if you need your eyes checked again like I do right now. 😉
I hope you find those two little tips helpful when you create your next resin filled projects.
Do you create using resin? Do you have any tips to add?


Of course! I realized my table is not level and was trying to level it off using 1 level and it just wasn’t working. So yes! Of course using 2 will be better!! Off to the store for another one! Thanks so much!
Great tips! Especially using a flashlight to see if I have a good dome – I need new glasses 🙂
That makes two of us Cindy! 🙂
Thanks for the tips. Read your post on Craft Test Dummies, hope to explore resin in the New Year.
Chrystel, Don’t let the resin scare you. I was intimidated by it for a long time but then decided to just try it and it was so much easier than I ever imagined. Just jump in there! 🙂