Supplies:
- Star Stickers – not teeny tiny ones
- Simply Spray – fabric spray dye in POPPY RED and BLUE JAY
- T-shirt
- T-shirt form, cardboard or plastic bag
- Garbage bag to protect work area – or work outside on the grass
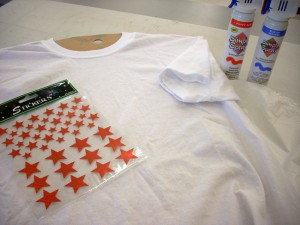
Here’s a tip. I used a T-shirt form to insert inside the shirt to keep dye from bleeding through to the back. There is a tiny hole (to hang the form on the rack at the store) at the very top of the form. Cover it with Duck Tape. I can’t tell you how many shirts I decorated and they have a small circle of dye on the inside of the back of the neck.
If you don’t have a form or don’t want to use it just slip a plastic bag inside the shirt, or even a piece of cardboard.
Cover your work area with a large trash bag or work outside on the grass.
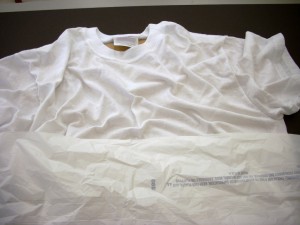
We’ll start with the top of the shirt first.
Mask the bottom of the shirt off with another bag (This is a great use for plastic shopping bags. Once the paint dries you can still use it for other things) Just lay the bag across the bottom of the shirt. No need to secure it unless there is a breeze outside. If there is a breeze just anchor it down with a few stones.
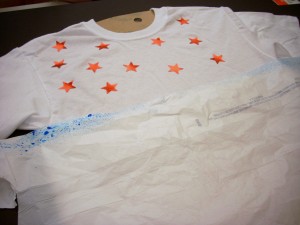
Place the star stickers randomly across the top of the shirt. Rub your finger over them (especially the edges) to make sure they stick.
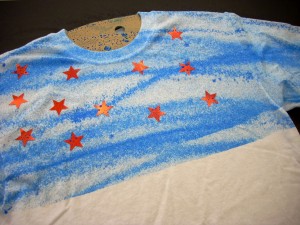
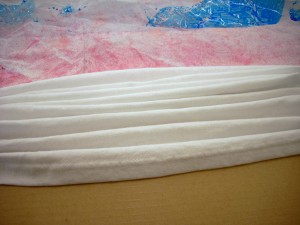
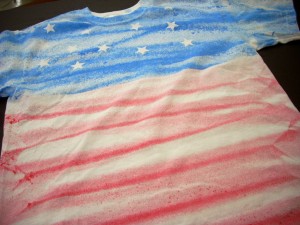

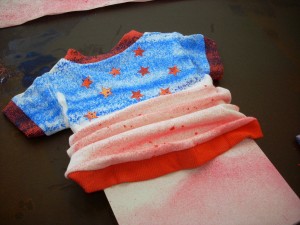
My friend Sneakers liked this T so much he asked for one of his own. How could I turn down that face?
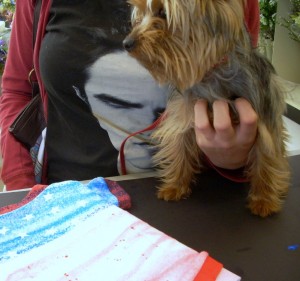

Vicki- What a clever idea! And what a cute pup! I’d love to link to your tutorial from my site, http://www.AllFreeHolidayCrafts.com, if that’s okay with you. Let me know…
Thanks!
Rachel