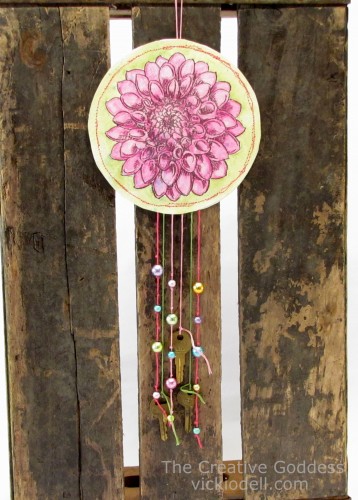
I have had dream catchers on my mind for some reason lately. I’m not sure why since I was never a big fan of them. Nothing against the whole idea but after living in New Mexico for 7 years I just got tired of seeing them at every single gas station, restaurant and gift shop I ever visited. I guess I just got burned out on them.
Not that it matters because I’ve been thinking of dream catchers in unconventional ways. Like wondering what happens if, instead of catching dreams you made something that sent dreams OUT. A transmitter of sorts. And even better, what if you could channel some of your own personal aspirations through that transmitter?
I know, it’s a little Dr. Who meets Deepak Chopra but it can’t hurt to give it a try. I mean, we could all use a little help in making our dreams come true. Right? At least a few of them anyway.
Even if you aren’t into the whole idea of transmitting a dream out to the universe it still turned out to be a pretty cool looking piece of mixed media art.
So what follows is my tutorial for making a Dream Transmitter. Or a hanging mixed media piece. 😉
Supplies:
- Art Grip Aquarelles numbers 168 (green),125,119 (pinks), 153 (blue)
- watercolor paper
- embroidery floss
- beads
- keys and other found objects
- sewing machine and coordinating thread
- jumbo dahlia set from Stampndous
- water
- watercolor brushes
- Staz-On Ink in Timber Brown
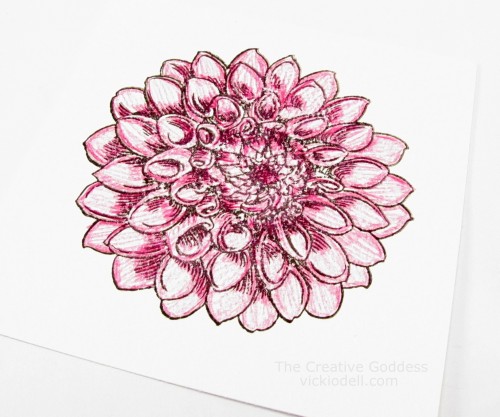
Stamp the image on the watercolor paper with the Timber Brown Ink.
Begin coloring with the pink Aquarelles. I used the darker shade toward the centers and the outer edges and filled in with a lighter color. It doesn’t look like much until you start adding water.
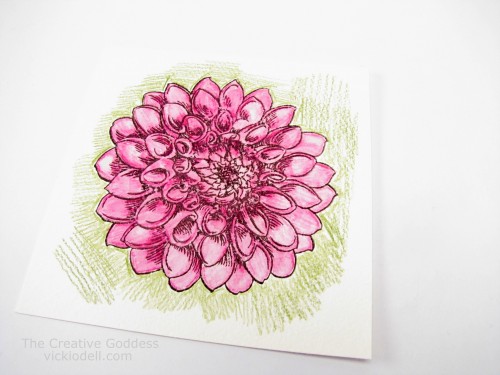
See what I mean? Just use a slightly wet brush to blend the colors.
Then using the green aquarelle color a bit outside the flower. Darker near the flower and then tapering out.
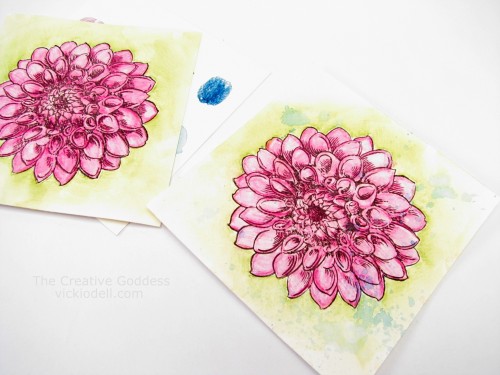
Both of these images show the green watercolor blended out toward the edges.
To create the blue splatters scribble a quarter size dot of color on an extra piece of watercolor paper, dip a very wet brush into it and swirl the color around. Tap the wet brush against the side of your finger splattering color onto the flower. Let dry.
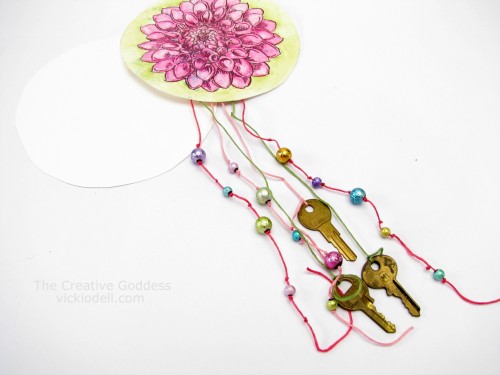
To make the body of the Dream Transmitter cut the piece you just made and another piece of watercolor paper into a circle. I used a small bowl as a template.
I added beads and keys to embroidery floss and taped them to the back of the watercolor flower.
I used keys because I 1) Liked the way they looked and 2) I thought about this whole idea of making dreams come true, keys unlocking dreams and the dream transmitter being the whole KEY to making dreams come true.
Sometimes I really get TOO FAR into what I’m dreaming up! I know.
Anyway, you could use beads, keys, shells, photos… anything that has some meaning or appeals to you.
(To keep the beads in place I double knotted the thread above and below the beads)
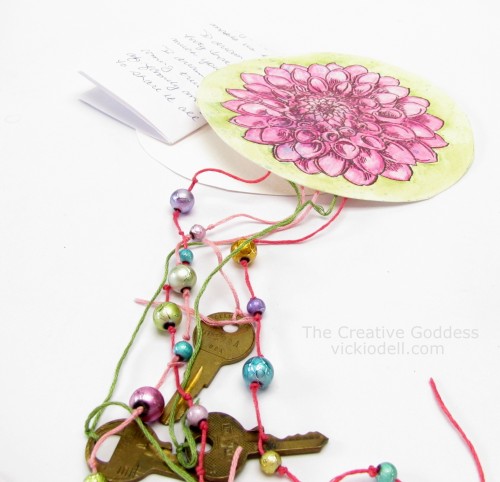
The next thing I did was to write out on half a piece of printer paper what some of my dreams are. The things that are close to my heart and mean a lot to me. Things that I daydream about.
And I taped that to the back of the flower too.
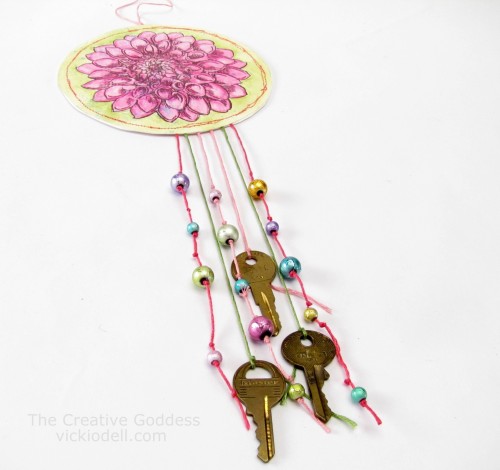
And for the finishing touch, I took the watercolor piece and the extra circle to my sewing machine, attached the free motion foot and stitched the two circles together with the sheet of paper that I had written my dreams down on and the tales of the the embroidery floss all sewn into the center.
