[pinit]
You might have figured by now that I’m a little bit of a sucker when it comes to making quick, cute gifts for my family and friends.
Making soap is one of my favorites because you can get several different finished projects with very little labor and only a few supplies.
That way no one gets the same gift!
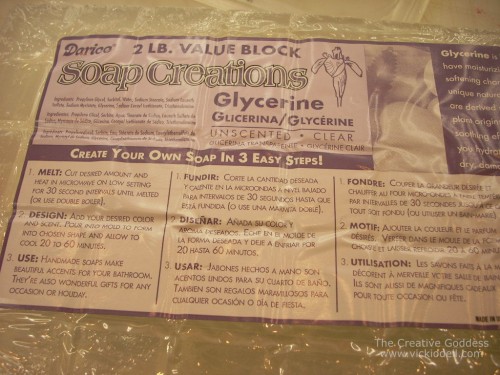
For the first projects today I used a clear glycerine melt and pour soap. This 2lb block goes a long way and I like it because it’s scored which makes it easier to chop up for melting.
Following the package instructions melt the soap and pour it into the mold. Let the soap set up and then un-mold. That’s really all there is to it.
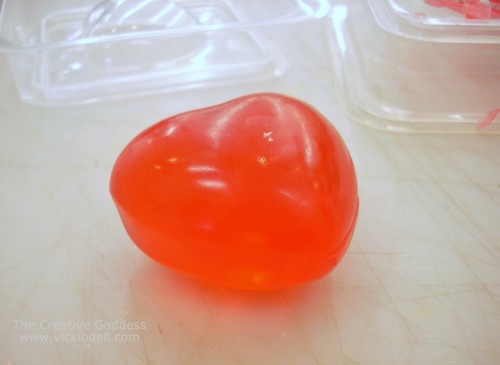
I made this big 3D heart with a 3D mold. I was afraid the mold would leak but it didn’t and I love the way it turned out.
I like to embed little prizes in my soaps like I did for this post Handmade Soaps with a Toy Surprise Inside and then Scrapbook Supplies, Fabric Flowers and Soap Making.
The only thing is that sometimes the embedded items will bleed a little color out into the soap. Which can look kind of cool but may not be the look you are going for.
If it’s important that the color not bleed you can either cool the temperature of the soap until it’s just starting to set so that it’s not quite so hot or you can test your item out in a small glass jar. Just add the item to the jar with some of the soap and let it set up to see if the colors bleed.
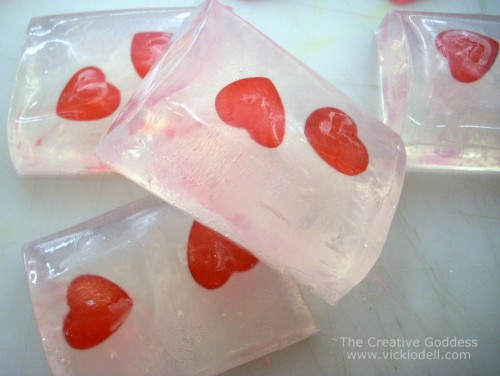
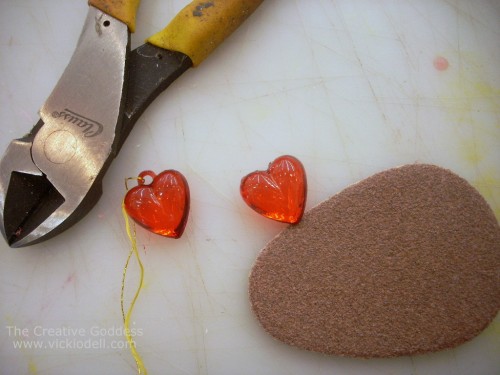
The hearts above are hard plastic, mini ornaments that I cut the hanger off of and then sanded the cut edges to make them smooth.
To keep lightweight items from rising to the top of the melted soap, fill the mold halfway full and let the soap start to set up.
Place the hearts on the top and then continue to fill the mold with melted soap. Let set completely.
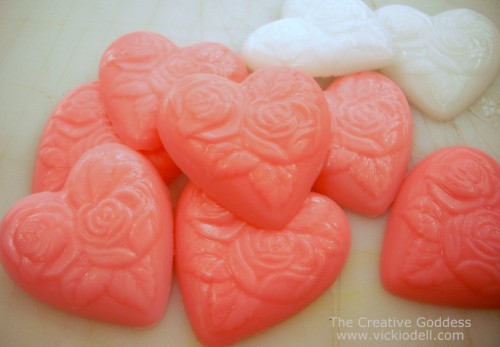
I made these cute floral embossed soaps with a Shea butter soap and a chocolate mold for intended for wedding favors.
I added a little red soap die (don’t use food coloring) and just remember that once you use the mold for soap making that you can’t use it again for chocolate.
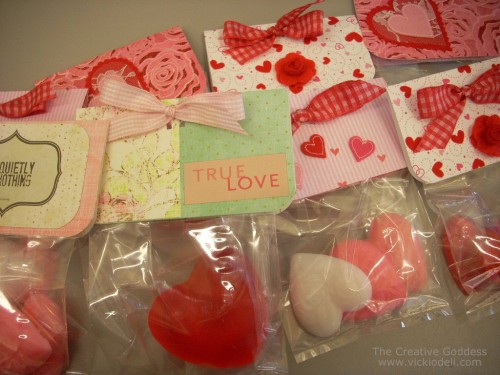
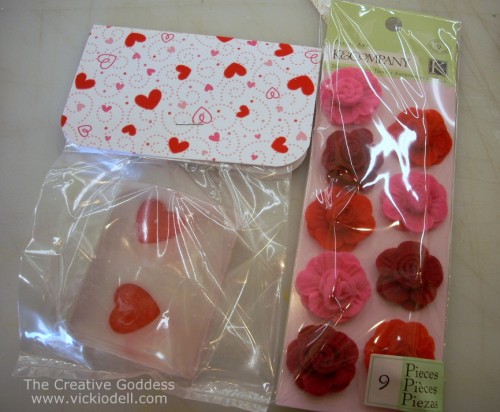
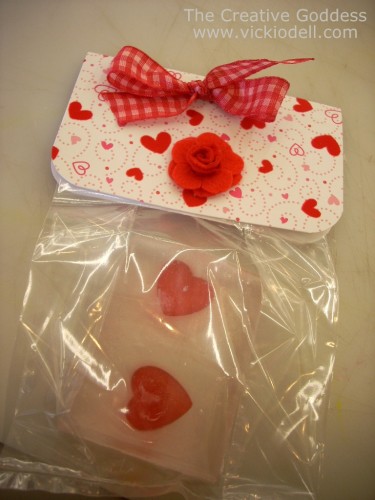
To make the packaging for my soaps I used clear treat bags and created headers for the tops with scrapbooking paper. Cut the header just a bit wider than the bag, and twice as tall as you want it. Fold it in half, round the corners and staple it in place.
I covered the staple with bows or stickers to dress the bags up even more.
One thing I’ve learned with all of this soap making is that it’s easy to mar the finish on the bars… but it’s also easy to fix as long as the imperfection isn’t too deep. Simply rub the soap with a bit of dry stocking or panty hose material to buff out the blemishes. That’s all there is too it.
Making soaps is really easy with the melt and pour soaps available. There are a wide variety of fragrance and color choices as well as dried herbs and other add-ins to help you create an array of handmade gifts.
So sorry!
I search the mini heart mold with roses 🙂
Hi, it’s so beautiful!! Please help me! Where you buy this mold?
Thank you so much!!!
The soaps are especially enticing and attractive in the packaging. Well done!
What a fun project and I love the hint of not using food coloring…lol
Happy New Year sweetie
Hope your feeling better and ready for CHA
Thank Dawn,
Happy New Year to you too!
Are you going to CHA? Will I get to see you?
V
Beautiful!
Thank you, Donna! 🙂