I finally got a chance to take photos of the project I taught last Sunday and will also be teaching on Thursday 3/19 at the Hudson Library and Historical Society. Both classes have insane waiting lists!! I just noticed, when I went looking for that link, that they took the class listing off their main page. Probably trying to save everyone some grief! LOL!
I thought this piece was perfect for Spring or Summer. When it’s hot outside and 95% humidity here in NE Ohio the last thing I want is a bunch of jewelry around my neck but this is light and airy and wouldn’t be hard to wear at all.
Anyway…
It’s a fairly simple project. It seems kind of rough when they are first starting but once the students get the hang of it they are off to the races! And you saw from last Sunday’s post how much they all enjoyed the class.
This is the finished necklace. I made mine long enough to slip over my head with no real clasp. I just connected bead ends. You could also make it long enough so that you could double it and put it over your head. There is a great tutorial on bead ends over at Fire Mountain Gems.
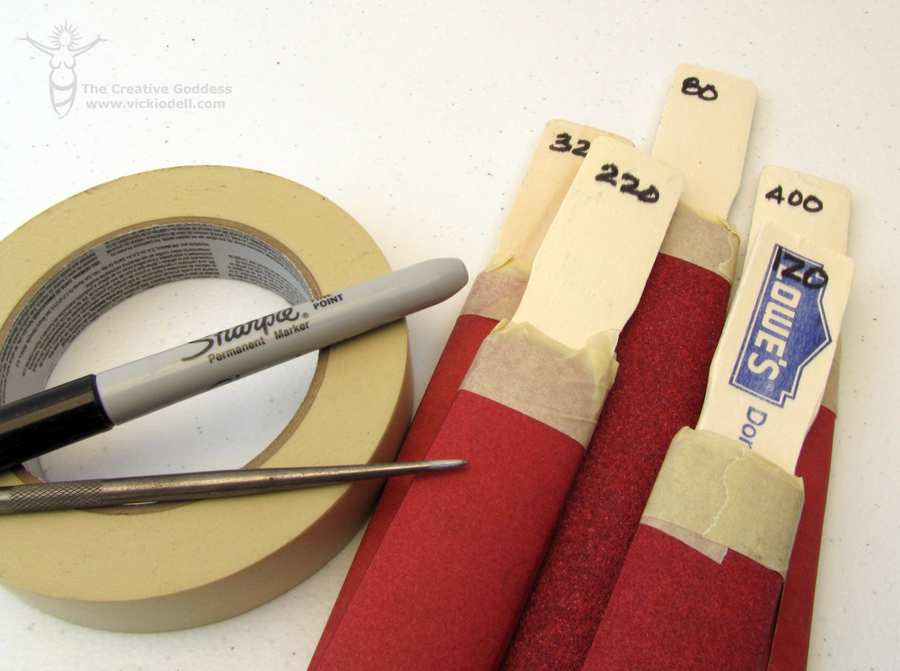
Here are some of the supplies I used. I must have left some of the beads out in the van but you can see them in the finished picture. Notice the round beads with the Asian writing? They are a friendship bracelet that I cut apart.
Basically, the whole necklace is made by taking a piece of beading thread (thickness of thread determined by size of beads) that is 8 feet long and folding it in half. Put the bead end on one end. Two inches in (thread is doubled now); tie a knot. Now, I did find a tutorial over at Fire Mountain Gems for using the Bead Knotter but that’s not what I used. I don’t remember where I learned to knot just using a metal awl but that’s the way I do it. In class I had the ladies using a wooden skewer (like for kabobs) and it worked just fine. I’m all about using what you have on hand! After that knot, I placed on a seed bead, “E” bead, focal bead, “E” bead and then seed bead and tied another knot to hold it all in place. Two inches down the thread I tied another knot and started again with similar beads. Keep in mind that the bead closest to the knot has to be small enough to keep from going over the knot.
Here is a close up of the bead end, a set of beads and then the knot ready for the next set.
Keep knotting and beading until you get to the end and then put on the other bead end. I hooked the “tails” of the bead ends together and didn’t even use a clasp. Keep in mind that if you use bigger thread you will need a longer piece to start off with because your knots will eat up more thread. It’s always better, to my way of thinking, to have too long of a thread that can be cut down when the necklace is long enough than having it too short. There is nothing more frustrating than having an almost finished piece only to discover that it won’t be long enough. Also, I’ve seen similar necklaces made with crimp beads but I always think they look kind of junkie. I like this look much better. Cleaner and more “organic” for lack of a better word. If you try this I’d love to see a picture. The bead combos are endless.


That’s a great design — I’m seeing this a lot on the runways, too.
Awesome with awesome sauce!