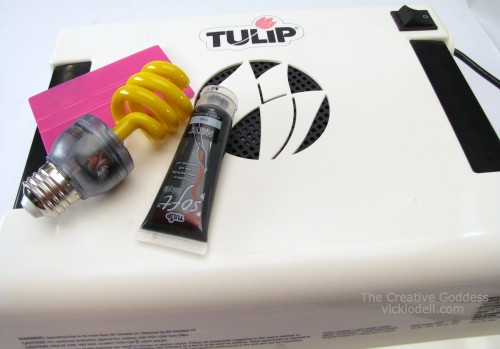
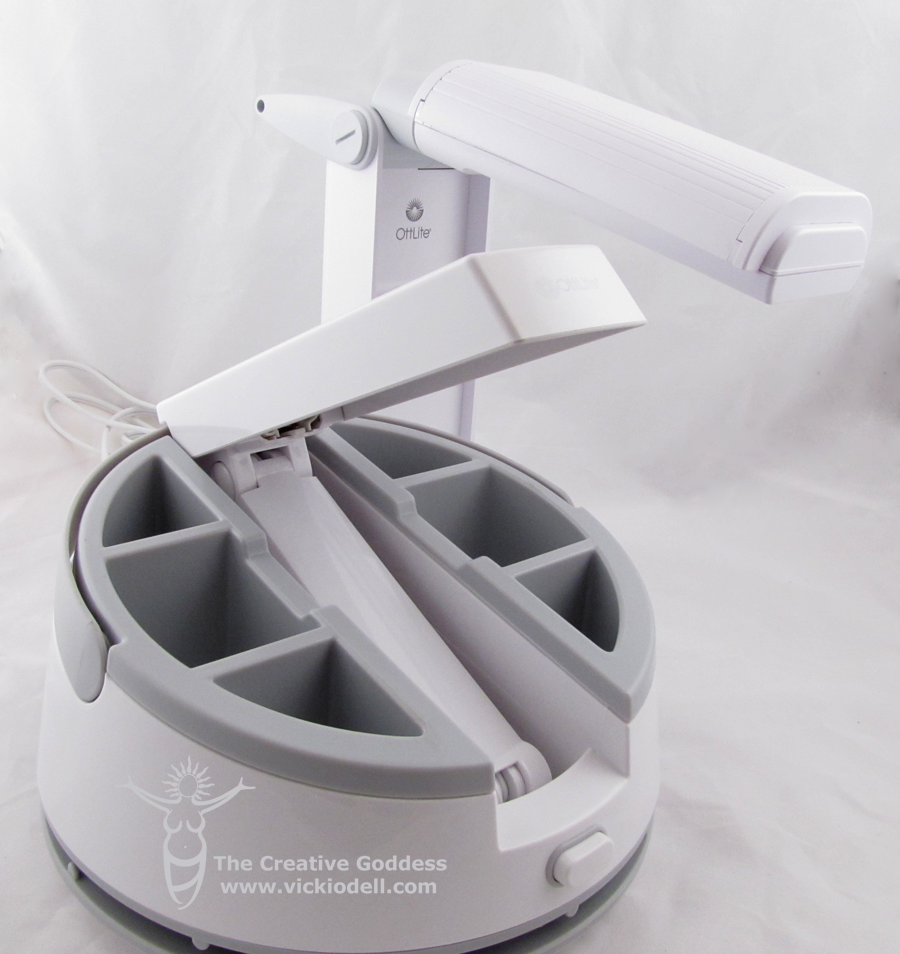
I was asked at Summer CHA if I’d like a Tulip ScreeIt Silk Screen Machine to try. You might be amazed that it took me a whole two and a half second to say, “YES”. I’d been seeing it here and there on the web and really wanted to give it a shot. Today I thought I’d give you some insight into the machine so you can see what it’s all about too!
Everything you need to get started comes in the box. Two white light bulbs (not shown) go inside the machine to burn the screens. I had to giggle as I was assembling the ScreenIt because it made me think of an Easy Bake Oven. Yeah, I know, I’m easily amused. 🙂
You’ll need a screwdriver to assemble the machine but it’s really easy to do.
You also get:
- the machine
- a yellow light bulb
- sample of Tulip Soft paint (black)
- squeegee
- 2 screens to burn
- instructions
And here are some supplies you need to have on hand:
- Fabric item to screen print on
- Nonabrasive sponge
- Printer or black felt marker and white sheet of paper
- Plastic tablecloth
I also recommend:
- Aleene’s® Repositionable Tacky Spray
- A tub that holds water so you have a place to 1) submerge your screen after burning and 2) submerge screens after printing
The first thing you’ll want to do is read ALL of the instructions. TWICE! And watch some of the videos.
I’ve heard a few little negative things about the machine but I found that when I followed the directions EXACTLY I got good results.Trust me, I wrecked my first screen because I didn’t do things EXACTLY.
You might even want to make yourself a checklist before starting.
I mean EXACTLY. K?
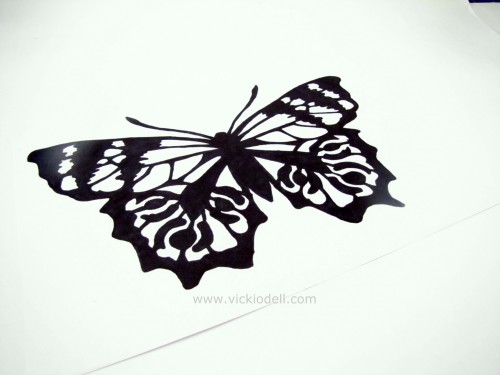
Above is my first bit of art for burning a screen. And below is the second.
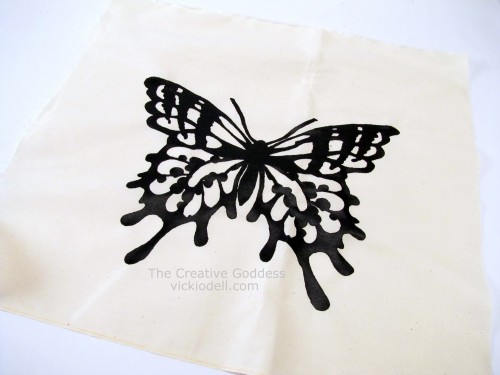
I’m going through a butterfly phase!
The first butterfly shows my artwork on a regular piece of copy paper. I drew it and colored it in with a Sharpie marker. If you are filling in your own artwork just be sure that you get the color SOLID. No greys, no little bits of white. The image needs to be the blackest black.
The second butterfly is screen printed on regular muslin. I should have ironed it flat first but it worked anyway.
Once you get the screens burned you can re-use them up to 75 times.
I have to be honest, at first I thought the price of the machine was pretty high but then I looked into thermal imagers and some other screen printing machines and tools and decided that it wasn’t so bad after all. Try $995.00 for a professional thermal imager. YIKES!
I’ll be back later in the week with a project that I made. Right now my paint is still drying. 🙂
So what do you think? Is the Tulip ScreenIt a tool you might try? What image would you try out first?

Can you use another brand of film sheet?
I don’t think it would work Brannon.
What stores sell the machine. I don’t like ordering online. I’d rather go pick it up.
Hi Shay,
I’m pretty sure this is no longer being produced. Sorry.
V
Do Tulip Screen It sell the emulsion film sheets in bundles….or are there any other film sheets I can buy to work with Tulip screen it?
The emulsion sheets are sold in a pkg with one sheet. I found them at craft stores and WM for about $19. I hope that helps.
I burned my screen, rinsed and wiped. Let dry and tried to apply paint and drag. NOTHING came through to the fabric. Please help. I don’t want to ruin another film.
Hi Brie,
It sounds like you didn’t rinse away all of the emulsion. I had to hold mine up to the light to make sure I got all of the pink stuff rinsed out of the design area.
Here is a link to the instructions page: http://www.tulipscreenit.com/instructions/
Be sure to click all the way through the images (it’s set up kind of like a slide show) to get all of the information. The last image has a toll free number you can call for support.
I hope that helps.
Vicki
Thanks….but I have one more question. Can I use other brand or film for this machine?
Hi Vicki,
My first screen didn’t burn properly, not all of the design would wipe away. It was a bit faint. The second one had the same problem in some parts, and in others areas outside my design wiped away too. Would love your advice- otherwise this machine was a really bad purchase!
Hi Mary,
I’m sorry to hear about your trouble with the screens. The first trouble with the faint image comes from not wiping away ALL of the emulsion. If you hold the screen up to a light you will likely see that there is some pink residue in the screen. I did that on my first screen too. Make sure to burn your screen for 16 minutes EXACTLY. Dip it in water for a count of 10 (that’s my own discovery) and remove to a protected surface (garbage bag over table). Have a dish of water nearby and with a smooth sponge begin wiping away the emulsion. Keep going until the design area is clear. Hold it up the light several times to make sure you have it ALL removed. I found that having a dish of water nearby to rinse out the sponge was helpful. Use light pressure and if you find you aren’t getting all of the emulsion off the screen try dipping it in the water again.
On the screen where you wiped away more than you intended to you can paint over the area with fabric paint and let it dry. It will clog the screen to keep paint from going through. Not perfect but still a usable screen.
If you need more help, I’m happy to do what I can or you can email info (at) ilovetocreate (dot) com or call them at 1-800-438-6226.
Let me know if you need anything.
Vicki
Can you tell me what parts of the instructions you didn’t follow on your first try? I feel like I’m doing everything right and I still can’t quite get it right. Maybe I’m missing something.
Hi Carrie, I’d be happy to help.
I think the best place to start is by having you tell me what’s not working. What part isn’t turning out right? I can help from there, I think. And if I can’t I’ll hook you up with someone who CAN.
You can reply here or by email creativegoddess (at) vickiodell (dot) com.
We’ll figure this out!
V