The expandable bracelet is still a hot trending jewelry item. Just do a Google search and you will see tons of them in the results. I’ve always thought they were cute – After all, I did grow up with the big charm necklace trend. (I even took my charm necklace off the chain and used it as an earring a la Madonna. “Excuse me ma’am but your age is showing!”)
Anyway, the problem is that I’m a big gal and I have big wrists. The bracelets in the department store never fit me. But you know what? I found that I can make a very similar bracelet that DOES fit my wrist. So if you are a gal with a big wrist, read on.
This post contains some affiliate links for your convenience. Click here to read my full disclosure policy.
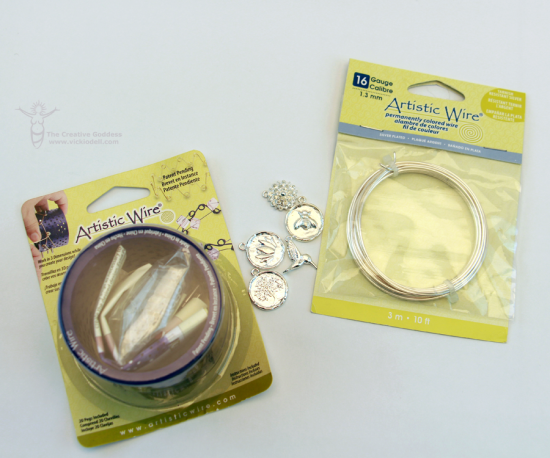
This is what I used:
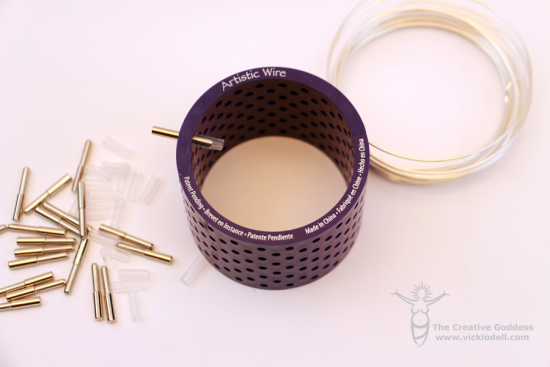
- Artistic Wire Bracelet Jig
- Jewelry wire – I used 16 gauge
- Xuron Maxi-Shear Flush Cutter
- Nunn Design Round Lotus Charm
- Nunn Design Silver Plated Pewter Mum Flower Charm
- Nunn Design Bee Charm
- Nunn Design Tree of Life Charm
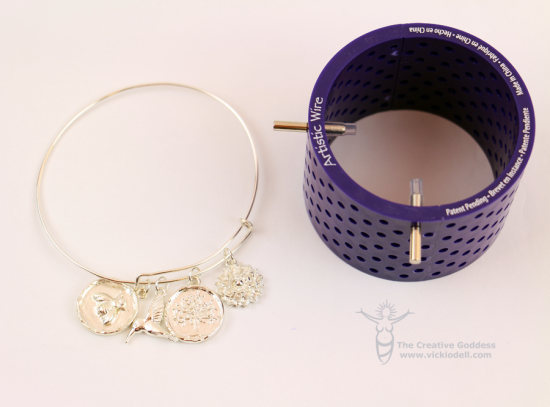
To set up your jig add a post with it’s back into a hole in the bracelet jig. (See packaging for further information and instructions)
Count one row down and 5 or 6 holes across and place another post with a back.
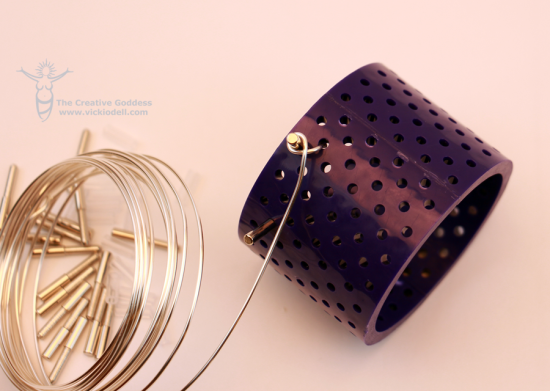
Insert one end of the wire into a nearby hole and the wrap tightly around the post to create the first loop.
Continue the wire all the way around the jig and to the second post.
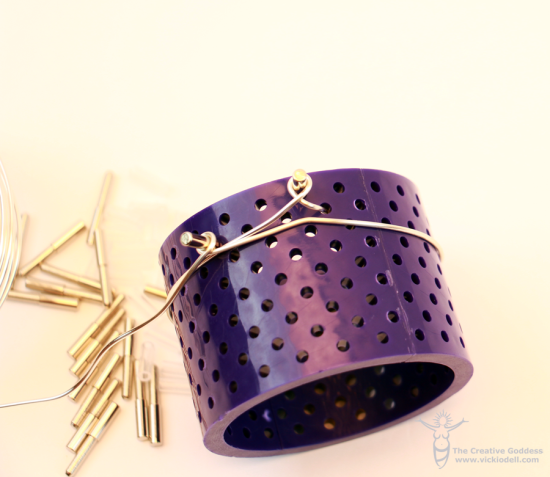
Wrap the wire around the second post but wrapping in the opposite direction.
If you wrapped the first post clockwise then the second post is wrapped counter clockwise.
BTW this image does show the posts closer together but that is for the smaller bracelets.
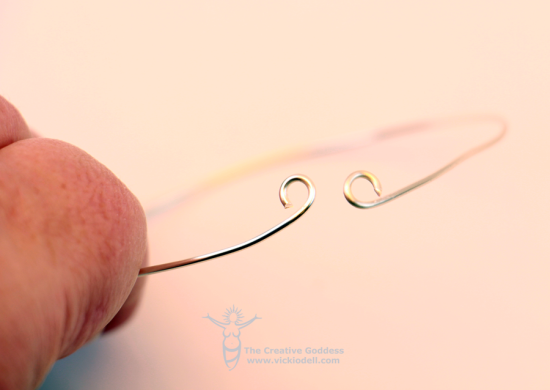
Cut the wire from the pegs with the Xuron flush cutter. Don’t cut super close to the bracelet like you normally would but leave a little room so that the loops can slide over the bracelet wire.
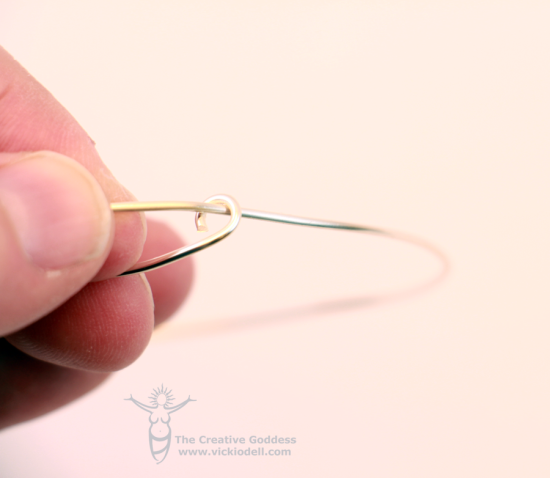
Put the first ring over the bracelet wire and bend up at a 90° angle. Close the loop.
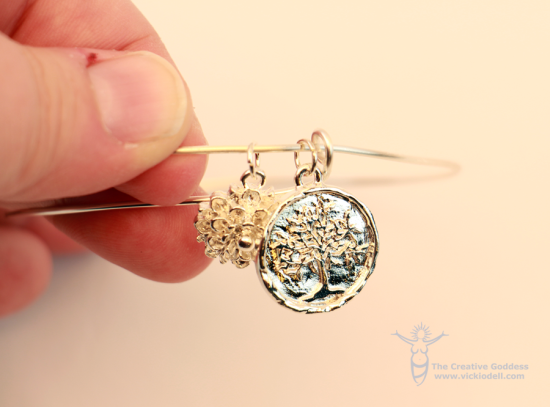
Add any charms you wish to add. All of these are from Nunn Designs and they are gorgeous.
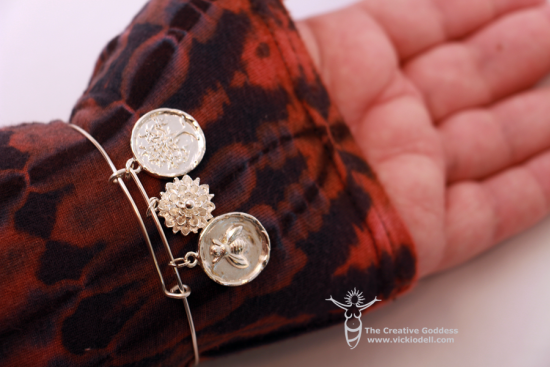
Slip the open loop over the bracelet wire and rotate it at a 90° angle (see photo) and close.
Use a bracelet mandrel to shape as needed. You might want to use a rubber mallet to work harden the wire to help it keep it’s shape but working with the wire creating the bracelet hardens i a little.
I’m smitten with my new bracelet and so glad I figured out how to make one that fits my wrist. Yay!

I didn’t even know there was such a thing as this bracelet mandrel! What a great idea! I have big wrists too and am sad I cannot buy one of these bracelets from the store!
Cute idea!
Thanks Barbara. 🙂