Vintage Inspired Paper Clay Snowman
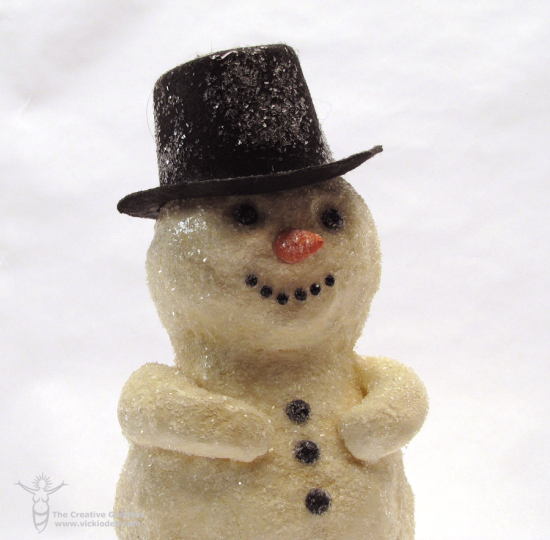
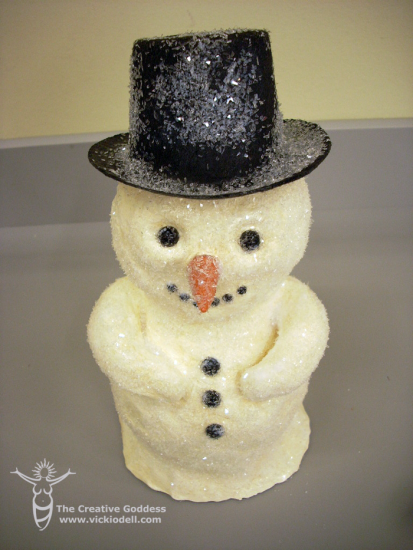
Sometimes you just need that little something to complete a winter vignette. This Vintage Inspired Paper Clay Snowman might just be what your winter wonderland look needs. He’s vintage looking, sparkly, and covered in snow. You can’t beat it!
I’ve never considered myself much of a sculptor but this project is so easy that it turned out cute without too much fuss. And with no special tools. Just my fingers.
I’ve seen similar vintage looking decor at different boutiques selling for more than I can afford. I figured, I had most of the supplies on hand so why not make one of my own.
This post may contain affiliate links for your convenience. If you purchase an item after clicking a link I may make a teeny tiny commission at no extra cost to you. Click here to read my full disclosure policy.
Easy How-To:
The body is super easy to make. It’s two styrofoam balls, 1 large and 1 medium, covered in paper clay and given a good 7-10 days to dry. Be sure it is good and dry before going any further otherwise he may gross some ugly moss!
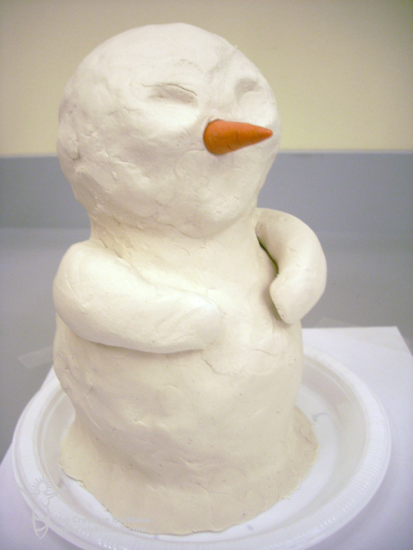
Create a base with the larger 5 inch Styrofoam ball and cover it with Creative Paper Clay. Make sure to smooth the paper clay as you add more.
Add some paper clay to the top of the ball to help adhere the smaller 4 inch Styrofoam ball.
Create arms (optional) and facial features by adding, removing and smoothing the paper clay.
I used a plastic carrot from the miniature aisle at my craft store and went ahead and pushed it in to create a space for it. You could also create a carrot nose with polymer clay.
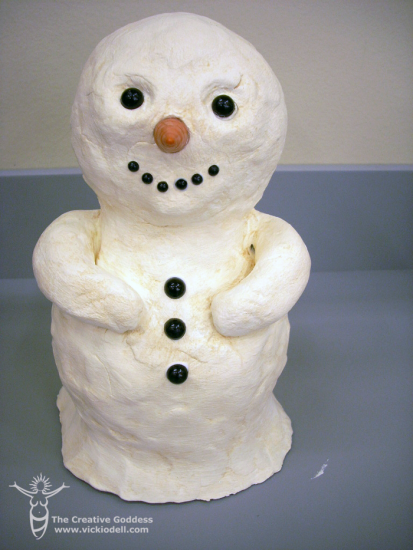
Do the same with plastic eyes, mouth and buttons depending on the material you create those out of.
Make your snowman and grungy then add sparkle!
Mix some white acrylic paint with a little brown and wash over the dried paper clay to give the snowman a vintage look. Wipe the paint off the higher areas and let it set into the creases.
Adhere buttons, plastic beads or polymer clay beads you make yourself for the eyes, mouth and buttons.
Finishing Touches.
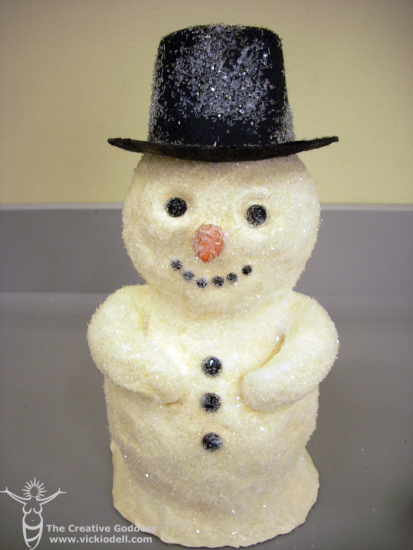
Wash the hat and snowman in a thin coat of Mod Podge and then sprinkle with Diamond Dust.
Let the snowman dry completely.
This guy can be made in all sorts of sizes and shapes. It’s a great addition to a mantle or in a smaller form for miniature winter scenes.
The great thing about him, especially where I live, is that he can stay out until spring.
Notes:
Keep this snowman out of reach of small children as any loose button could pose a choking hazard. Also, the Diamond Dust is ground glass.
Originally posted November 2009.

Awwww. He’s as cute as can be! I have everything needed in my stash. Now for some crafting time! Thanks for the inspiration, Vicki! I love your little guy!!!
Thank you Kris! I really appreciate the compliment. ♥
I love snowmen and I love this little guy! I use paperclay all the time. I’ve got to make this guy!
I hope you will share a photo Barbara. I’d love to see and share your snowman! 🙂