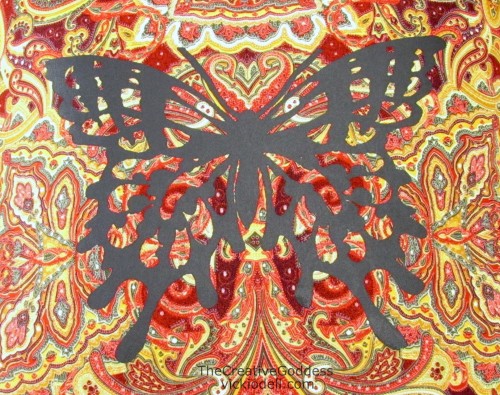
I used to think that I didn’t like screen printing. It’s not that I didn’t like the whole idea but the projects I often see are a solid black graphic on a solid colored background. Once in a while I saw an image that was appealing, but for the most part, I tend to think it’s kind of boring. You know me, I like some MORE with my MORE.
But then I thought, WHY does it have to be a solid background? Why can’t it be a patterned background? Would I like it better then?
It was worth experimenting to find out and since I have the ScreenIt that Tulip was so lovely to send me ( I wrote about it last week in my Toolbox Tuesday: Tulip ScreenIt Silk Screen Machine post) I had no excuses NOT to give it a try.
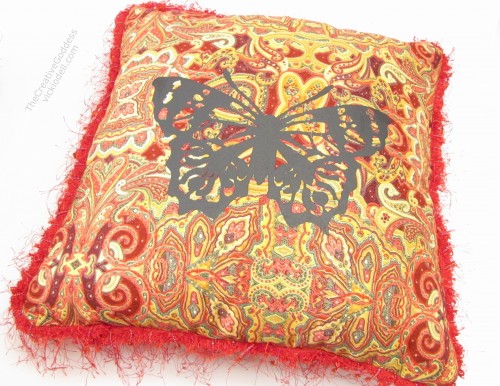
So I did, and I simply love the way the black butterfly looks on the printed background.
[pinit]
It’s no good coming up with a silk screen you like, on fabric that you like and then stopping there. Oh, no sir!
So I had to make some toss pillows for my living room. I just painted a wall a bold, new color (Blog Post: A Bold, New Paint Color for the Living Room Wall) and I’ve been feeling that the room needs some more color in it ever since.
This definitely fits the bill!
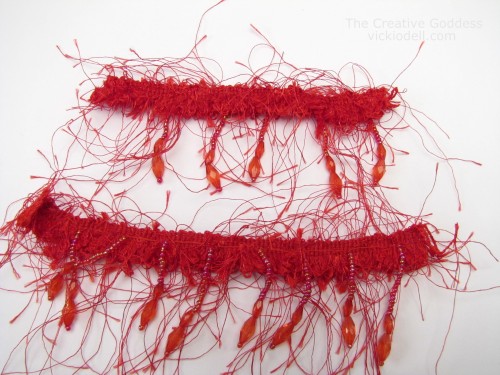
While I’m not going to give you a complete tutorial about how to sew pillows (there are TONS of of them already on the web) I will give you a tip or two about using trim like the one shown above.
You see, I had this fringy beaded trim on hand and thought it would look great on my pillows. I did have some trouble working with it though. The beaded part is only on one side of the trim and when I sewed it in the pillow the first time, and got the pillow all stuffed and sewed up I realized that the beaded portion was facing the BACK of the pillow. UGH!
I took it all apart and then sewed it back together. The wrong way. AGAIN.
So here is what I came up with and I hope it will help you if you ever sew with one sided fringe.
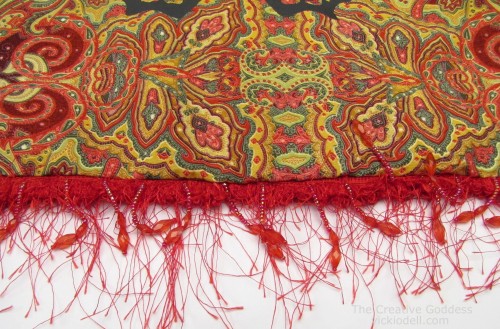
First, pin the fringe along one side of the pillow and pin the pillow panels right sides together with the fringe in between. Turn the pieces wrong sides together, just like it would look if it were all sewn up, and you will see if your fringe is facing the right way. In this way you are pretending to sew it together along one side so you can make sure everything is facing the way you want it to.
Also, because this fringe wanted to move around and get caught in my presser foot I stitched it in place with a running stitch, by hand, and then used the stitches as a guide when I sewed the two pieces together.
That process made sewing the pillow the third time and sewing the second one a breeze.
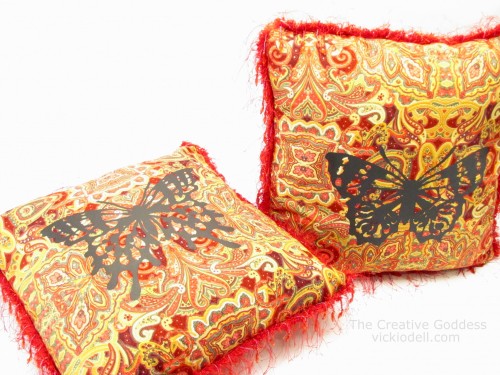
I have to say that I like this better than some screen printing I’ve seen on solid backgrounds. Now I wonder if I could make a sort of reverse screen so that it’s mostly black and only the print shows through the design? Maybe that would be too much black?
So what do you think? Do you like the screen printing on a printed background or is it too much for you?

love it! “More” is definitely mo’ betta!
I have a tip i use for stuff like your wayward trim …i use scotch repositionable tape , it’s very low tack, to tape-baste before i stitch. but g/f, where is the beaded edge around the butterfly? LOL. Also I’d sure be inclined to try a little of Tulips gold glitter tshirt paint (thinned out a little with water) on the butterfly wings, (just the printed part , not the black part, unless you use the black glitter!) I have used that paint on fabric before, thinned a little in a dish or discarded large bottle cap, with water and painted on with a brush, it gives a very cool glitter effect similar to some of the fabrics that come with glitter on them!!
Thanks for the tips! 🙂 I’ll be sure to keep them in mind when I use that butterfly screen again.
Oh I Love it! I am like you and need color or pattern…I will have to play with that.
Love the sewing share, so sounds like something I would do, and yes I would do it a second time also…lol
Ha! Glad to know I’m not alone. 🙂