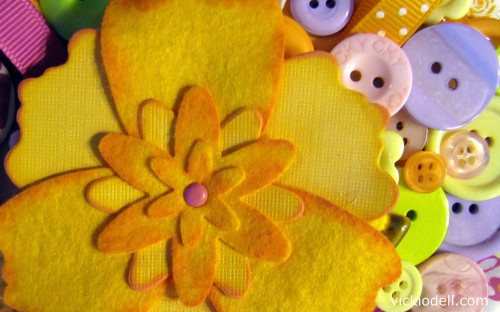
I remember when I was a little girl my grandma O’Dell let me sort through her button tin often. I was mesmerized by the tiny little gems. It kept me occupied many a rainy afternoon.
I‘ve been teaching a couple of classes lately making jewelry out of buttons. I have a TON of buttons. So I decided to use up some of them in this project.
Supply list:
- Beauty Bloom, Originals Die #655455 by Brenda
- Felt –National Non-Wovens
- Buttons- Buttons Galore and More
- Scrapbook Paper- your choice
- Cardstock – Bazzill Basics
- Ribbon – your choice
- Mod Podge
- Paper Mache Box
- Hot glue gun
- Zip Dry Adhesive
- ColorBox Ink- your choice of color
- Brad
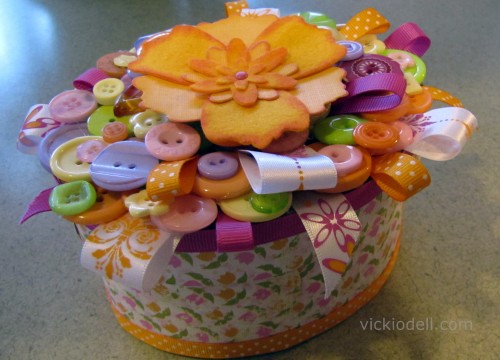
I’m afraid I don’t have step by step photos for you today. I’ve been fighting the flu and I made my button box in between naps, not even thinking to take pictures. But don’t worry, it’s really easy.
First I adhered the paper to the paper mache box with Mod Podge -I just did the side of the box and the side of the lid- the top will be covered with buttons and I wanted to make sure the buttons stuck to the box so I didn’t want a layer of paper between the buttons and the box lid. Does that make sense?
Then beginning with the outside edge I glued buttons onto the box top with hot glue. Layer them until the box top is covered.
Cut small bits of ribbon and hot glue them in place. Some I let lie flat and others I folded in half.
Put a band of ribbon around the box bottom and top.
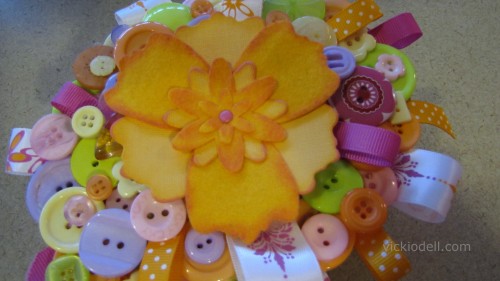
For the flower I mixed cardstock and felt and held all the layers together with Zip Dry glue.
I used a yellow ColorBox ink just darker than the paper and felt to ink the edges and then a brighter pink ink over that. The yellow goes in deeper into the flower and the pink is just at the edges.
I loved the way the ink looked on the felt, all soft and feathery. I poked a hole through the center of the flower with an awl and added a pink brad to hold it all together and to add more pink to the center of the flower. Then I just glued the whole flower to the top of the box.
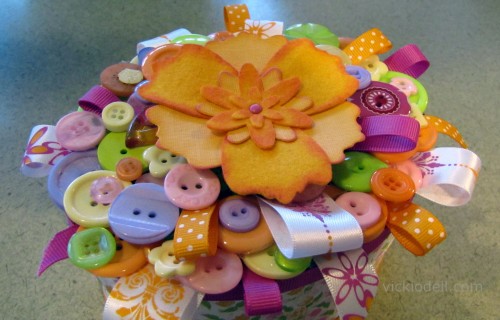
Now I can either use this to store buttons or the jewelry I make WITH buttons!
I hope you enjoyed this project and that my fever induced directions made sense. 🙂 Please use the button at the top right of my blog to hop around and see what the other designers have done with Brenda Pinnicks FABULOUS flower die.
This is so pretty! I love how you layered the flowers with the buttons and ribbon. What a gorgeous project!
Mahalo for sharing your colorful button box.
This is positively bursting with cuteness and color!
What a preety bytton box, so cute. I love it!
Vicki, this is absolutely enchanting.
BEAUTIFUL! Love this so much.
I love buttons too!
What a fun fun project. The colors are so bright and cheerful and I love the buttons too!!
That is fabulous! I love how much texture that box has. Do you need my address so you can ship that here?? lol
Vicki!!!! This just has me grinning from ear to ear!!! FABULOUS!!!! Bravo, bravo, bravo!!!
Thank you for using my dies!!!
Vicki, everything you’ve done has been amazing! I LOVE buttons.
Wow!! I loooove how you layered the buttons with the flower. Really, really great!
Very pretty button box!
This is such a great whimsical project- you outdid yourself. Take care of that flu!
That is totally button spectacular!
what a cute and colorful box.
So fantastic, I love all the ribbons and buttons, and the flower is a beautiful centerpiece!
This is all kinds of fabulous, V! The buttons make me happy and the flower die on top is just the right touch. Love it!