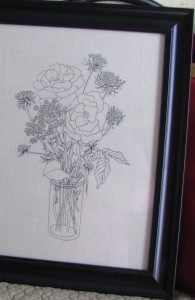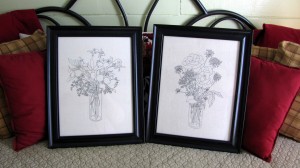
I truly love the way this turned out!
I know that I have a photo SOMEWHERE of the package these beautiful “drawings” came from but for the life of me I can’t find it anywhere. I imagine they are on the hard drive of the computer that died a few months ago. *sigh*
All I can tell you NOW is that I found two needlepoint kits at the thrift store and while I wasn’t so crazy about the colors of the threads I LOVED the outline of the flowers. So I tossed the packaging and the threads and kept the background. SNEAKY!
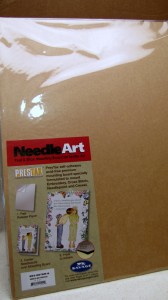
I purchased two Peel and Stick Mounting Boards from www.savagepaper.com and two frames from my local craft store.
I hand washed the fabric in the kit and laid it flat to dry. Then I ironed it nice and flat. Remember to iron on the BACK of the fabric just in case your iron has some “yuck” on it.
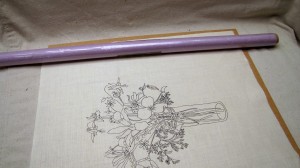
Getting the fabric on the SUPER sticky mounting board nice and evenly can be kind of tricky. Here is something I figured out when mounting the SECOND piece.
Roll the fabric onto a roll of wrapping paper (preferably one still in the plastic packaging so as not to run the risk of ink coming off on your fabric) nice and even.
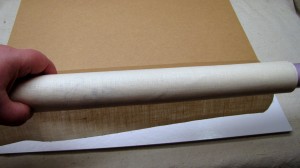
THEN when you peel the paper from the sticky mounting board only peel it back a little at a time. Crease it so that it stays out of your way and carefully line the fabric up on the mounting board. Slowly unroll and peel back the paper until you have the fabric on the sticky board. Smooth the fabric with CLEAN hands.
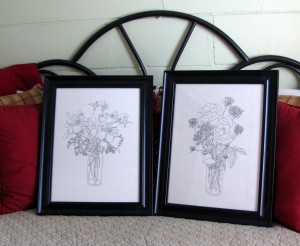
Put the mounted fabric in the frame and put the back on and you are all set. All that is left now is to find a place to hang your “drawings”.
