I love the Fourth of July. It is one of those holidays that has some really great memories wrapped around it.
I think one of the most amazing times was when I was in Germany (my ex-husband was USAF) and they had a big party in one of the hangars. There was a laser light show and lots of great music. It was really fun.
Then the very best 4th of July fun was back in 2000. Warren and I had only been married 3 days and we got take-out and sat on the back of his Triumph Spitfire and ate our little impromptu picnic dinner and watched fireworks.
It’s kind of funny but as much as I love the holiday I don’t have a lot of craft projects here for the 4th of July. I think I need to remedy that!
Why not start now?
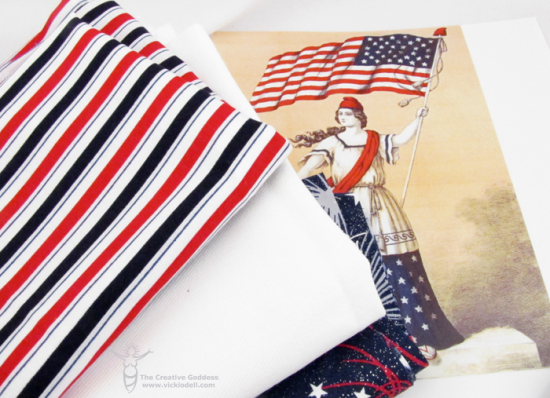
I was really excited when I was asked to create with Craft Attitude. I love this stuff! It is super easy to print on and is slightly transparent so it picks up the pattern of whatever is under it but it also is very thin so that it picks up the texture of whatever is under it too. That just makes it so much fun to use.
To make this 4th of July Door Banner you will need:
- Craft Attitude
- Solid white fabric – I used white denimn
- 4th of July printed fabric of your choice
- Image from – The Graphics Fairy
- Vinyl
- Silhouette Cameo
- Krylon ColorMaster Spray Paint – True Blue
- Sewing Machine
- Red Thread
- Therm-o-web Heat n Bond
- Ric-Rac, ribbon and lace
- Dowel rod
To create the stars with words you will cut two large stars out of the white denim fabric.
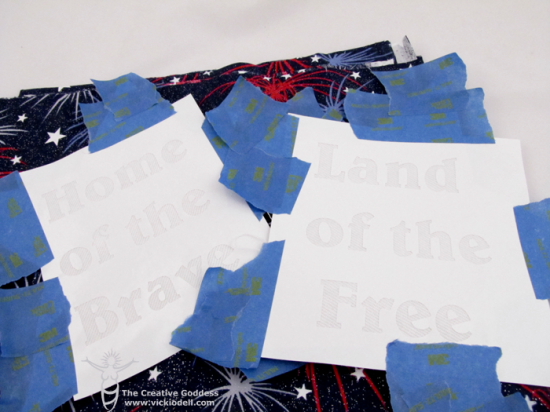
Create the phrases “Land of the Free” and “Home of the Brave” in your Silhouette software and cut them out on vinyl
Adhere the vinyl to the stars and then tape off all of the exposed portions of the stars.
Spray paint has a way of finding any exposed areas so make sure to tape if off well.
Spray with 2 or more coats of Krylon in True Blue. Let dry.
TIP: Sometimes the spray paint will not play nicely with the vinyl so it is always a good idea to spay very thin coats and let it dry between coats to prevent any curling of the vinyl.
Remove masking.
Cut the banner base from the decorative fabric and one from the white denim.
Print out the image onto Craft Attitude and cut down to size.
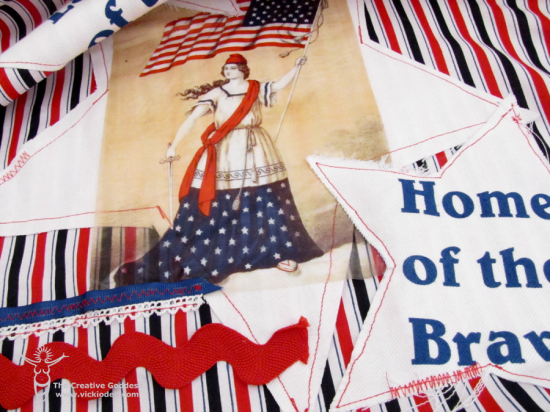
Cut another larger star and arrange the stars on the face of the printed fabric until you get the desired arrangement.
Adhere the image to the largest star as directed on the Craft Attitude package.
Stitch the three stars in place with messy. loose, decorative stitching.
TIP: It’s not easy to sew over craft attitude so you may want to stitch everywhere AROUND it. If you do wish to stitch over Craft Attitude make sure there is no glue on the backside, use a long stitch length and then place a piece of wax paper over top of the image and stitch through the wax paper. Remove the wax paper carefully after stitching.
NOTE: It is not necessary to stitch the Craft Attitude unless you simply want some decorative stitching.
Stitch the decorative ric-rac, ribbon and lace into place.
Make sure all decorative stitching is completed before assembling the banner.
To assemble, put the stitched and decorated banner face aside and iron the white denim back flat.
Cut a piece of Heat n Bond so that it is 2 inches shorter than the sides and bottom and 3 inches shorter at the top. Iron in place according to package directions.
Iron the banner face to the backing.
Fold over the top of the banner to make a pocket for the dowel rod. Stitch being careful not to sew through the Heat n Bond.
Stitch with a zig zag or other preferred decorative stitch over the outside border of the banner being careful not to stitch through the Heat n Bond.
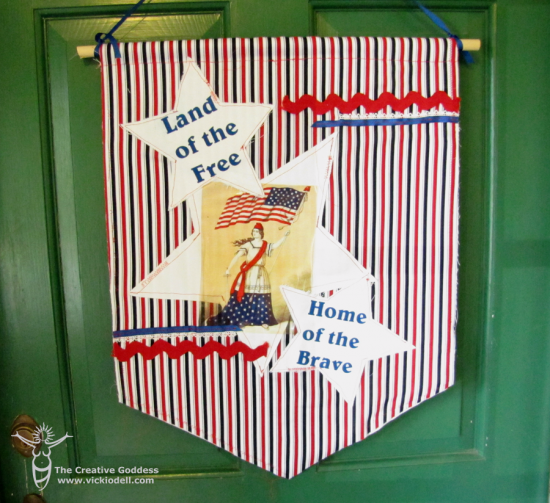
Put the dowel rod into the rod pocket and tie ribbon onto each end as shown for hanging.
Hang and enjoy.
I love the way this turned out and I love the way it stands out on my green front door.
What is your favorite 4th of July memory?
NOTE: While the banner is on my front door it is on an enclosed, covered porch.
This is a sponsored post. While I am receiving compensation for this project all opinions are 100% honest and my own.


So creative! Love it!
Thank you Debbie! 🙂
Love your banner – we were so on the same wavelength this week! LOL
I loved yours too Jennifer. So many great techniques. I almost tea stained mine to make it look more aged. I love that paint technique you used. Great idea!