Is there anything more depressing than rushing out the door and noticing that your container plants are looking like they are at deaths door and you have no time to stop and help them out?
All of that money and work and the plants are going to die and you can’t stop to tend to them.
The best way to prevent that scenario is to start them off right and then maintain an easy schedule.
This took me a few years to sort out. I like to have container plants near the front door and have tried several different things over the years. Some worked, some … not so much. Here is what I’m doing these days and it seems to be working out well.
Have the right supplies on hand
Be sure to have some or all of these items on hand before you get started.
- Large Pots or Planters
- Really Good Soil
- Gloves
- Trowel
- Cheap baby diapers
- Water hose
- Multi-position sprayer – be sure there is a “fine”, “shower” or “mist” setting
- Soapy water and cloth
- Spray paint
Prep the containers and the soil
A word about the containers you use – if you move them often – to wash the deck or weed around – you will want lightweight pots. Use ceramic or terracotta pots for lighter weight plantings and only if you have space to store them for the winter. Remember, I live in the frozen tundra of NE Ohio and moisture plus freezing temperatures will break ceramic or terracotta pots. Every time.
Cheap plastic can break down and fade in the sun although it is light weight. Terracotta pots are stronger, but they dry out quickly, so they may need more watering. If you wish to plant in any salvaged container, like a teapot, small wheelbarrow or even an old bucket, remember to drill drainage holes in the bottom.
Empty out the soil if the pot was previously used and the plant is gone or has died into a wheel barrow or large bin.
Wash the pots with warm soapy water – you might skip this step if they are new pots – rinse and allow to dry in the sun.
Once they are dry you can paint them if you wish. I like to paint my pots now and then. Either they got damaged in some way or I just want to amp up or change a color scheme. Either way, this is optional.
I like a spray paint that is suitable for outdoors. It’s just easy. Allow to dry.
Revive the old potting soil by mixing it with compost. I do this every year and only have to buy new potting soil occasionally. More to come on my composting method. Because trudging out to the compost pile in the dead of winter is not gonna happen with this chick!
Plan for plenty of moisture
This is the part where I place a cheap-o diaper or two in the bottom of the pot. I know some folks scrape out the gel-like goop from the diaper and add that to the soil but I use the whole diaper. Laying it over the drainage hole will allow for some of the water to pass through without losing soil.
Make sure the plants you will be planting have been well watered and aren’t showing signs of drying out. If they look dry, place the whole pot into a container with a few inches of water and let it absorb the water for a few hours.
If you are creating window boxes or a row of container plants consider drip irrigation. It’s super easy to set up and you can even put it on a timer so that you can be certain the container plants will get plenty of water and you don’t even have to think about it.
Plan for nutrients
If you are using regular potting soil be sure to add some slow release fertilizer or plant food to the middle of the soil or mix it in with your soil before using.
Have a water soluble plant food on hand for feeding through the season.
Using well composted organic matter will help feed the plants throughout the season. I add a thin layer of potting soil, organic medium and then more soil so that the organic medium isn’t right on the plant roots.
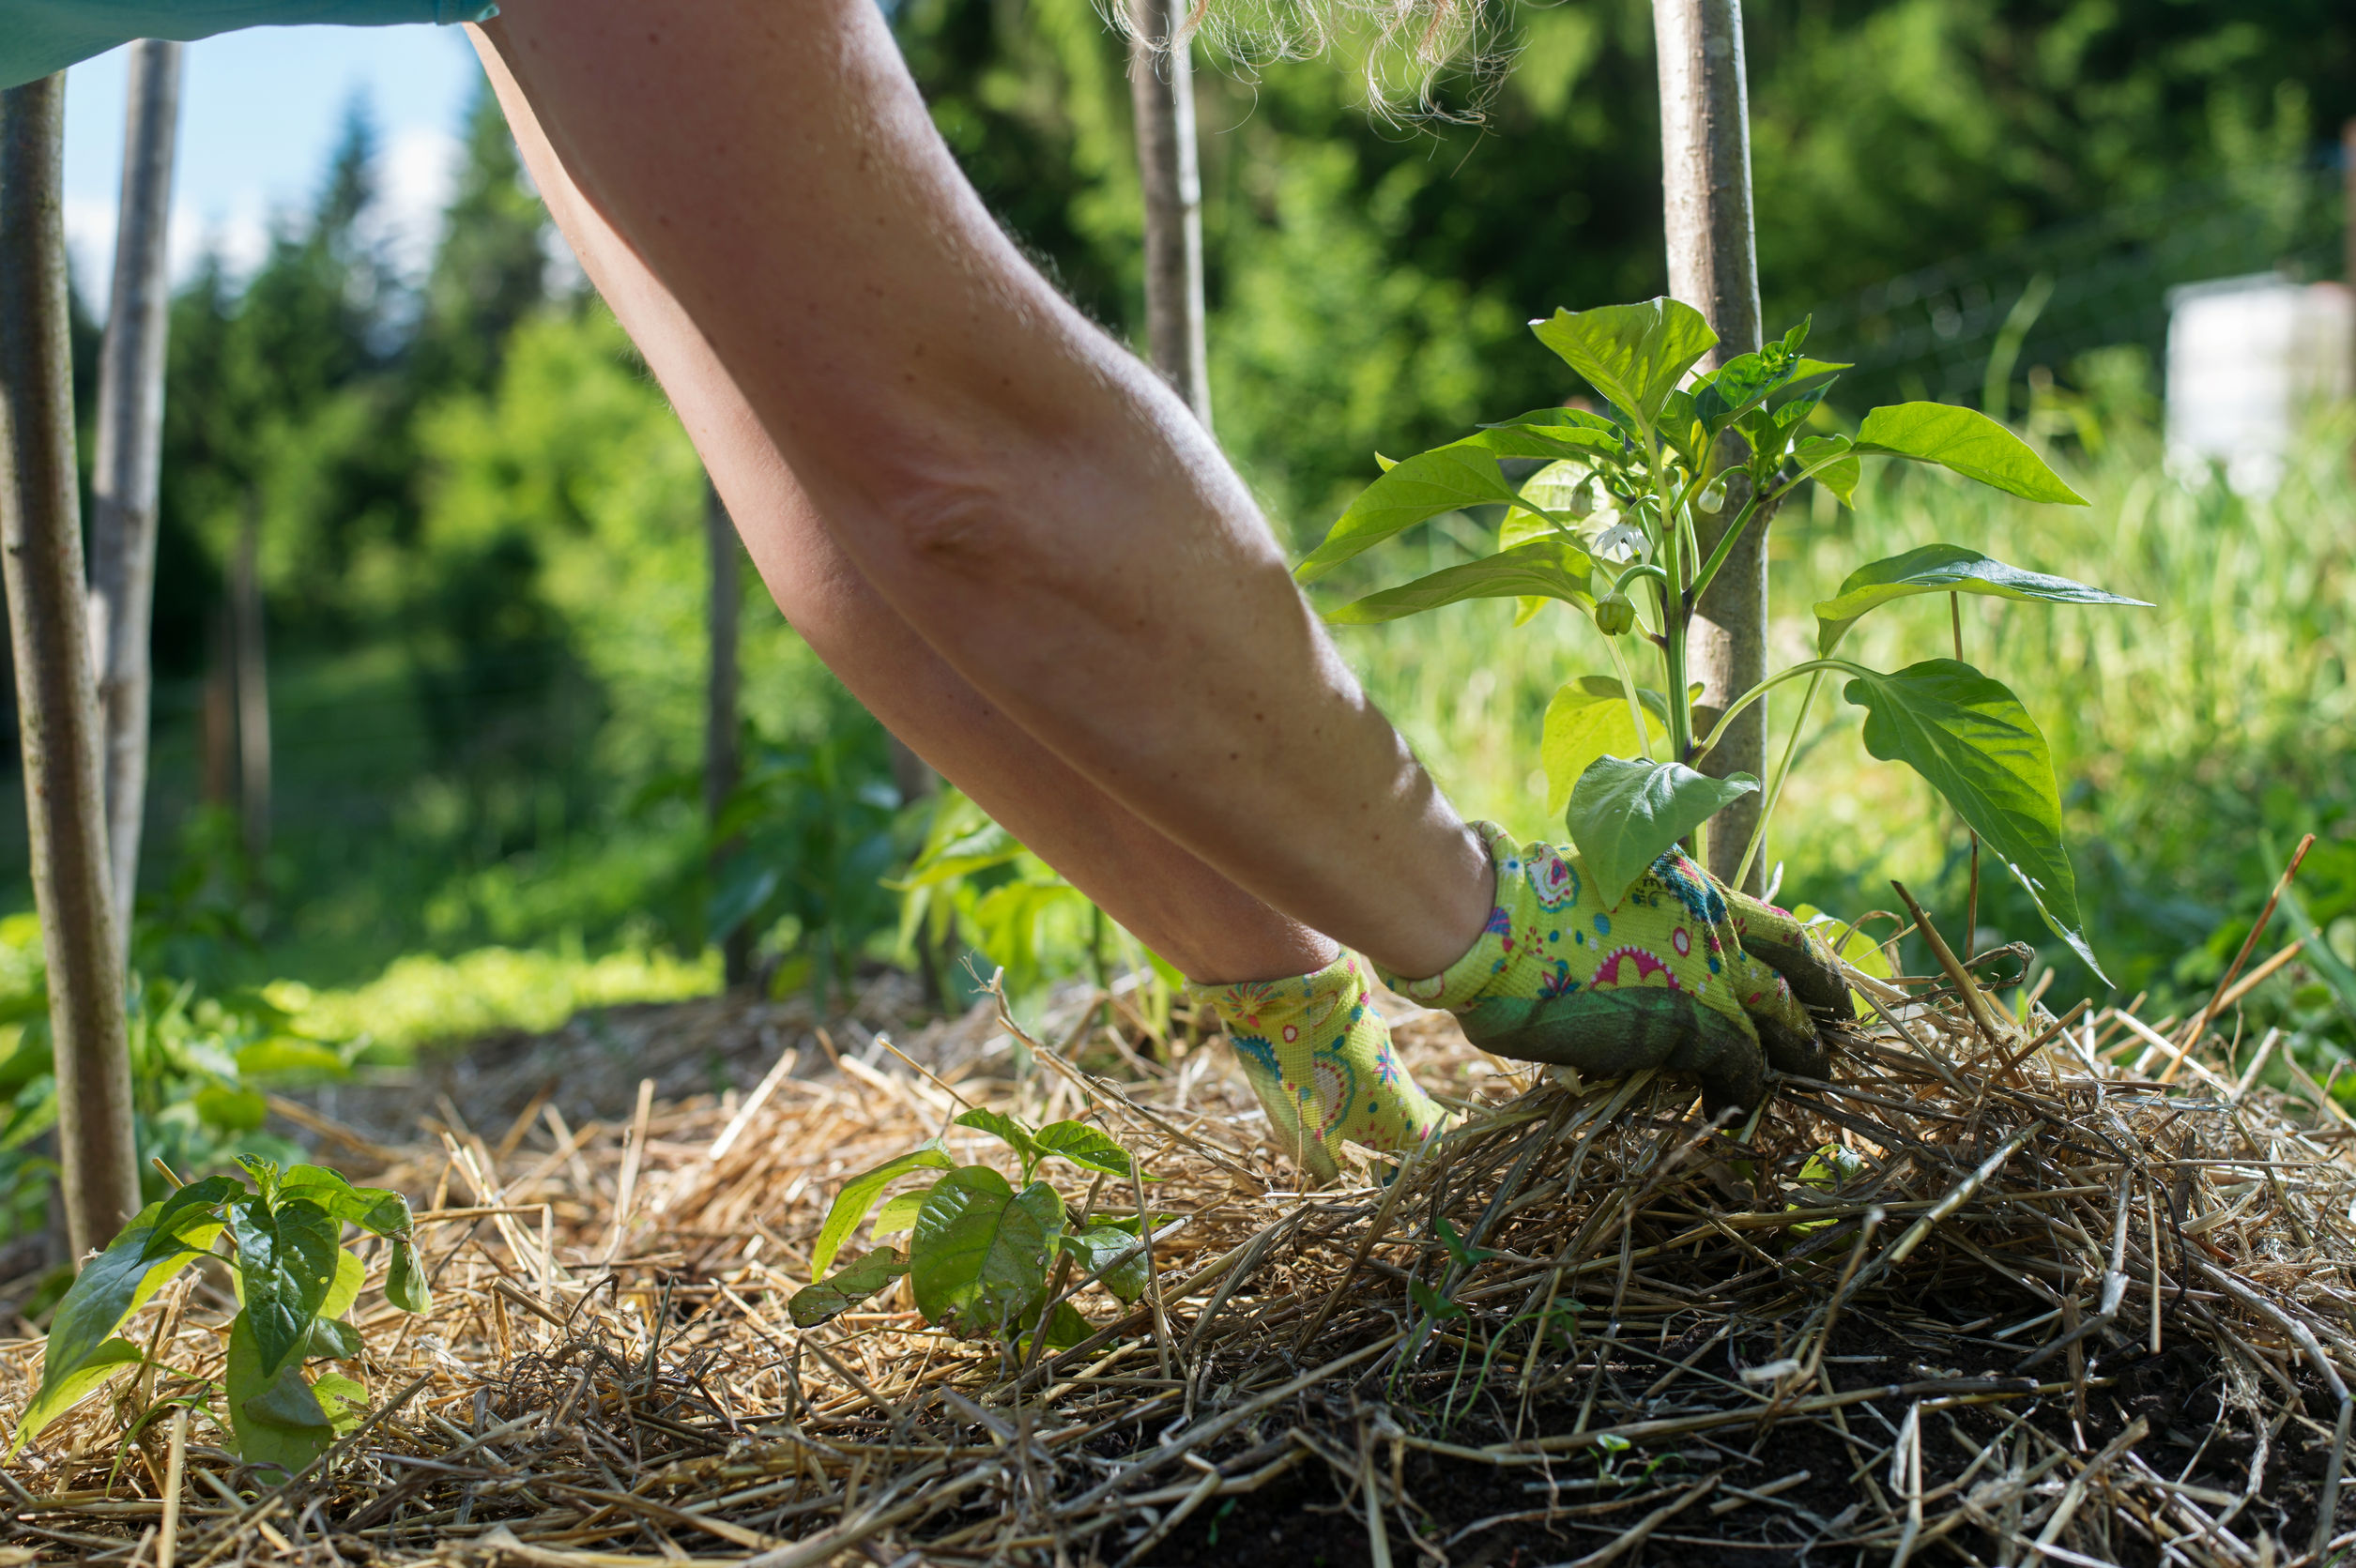
Before planting gently loosen the roots in the nursery planter before placing in the new container.
Choosing Plants
Consider where the container plant will live. In sun, part shade, or a mix? Choose plants according to the light conditions.
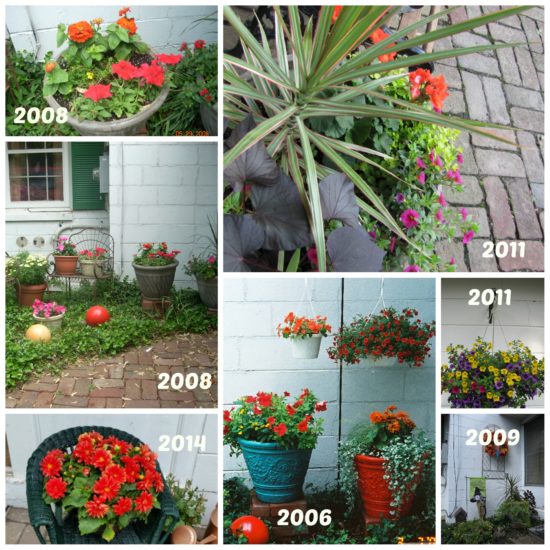
I like to mix things up. Spiky and ruffly. Purple and orange. Big leaves, small leaves, narrow and wide. I love a mix of textures and vibrant colors.
Choose plants from a local nursery whenever possible. Many local nurseries grow the plants locally and that makes them a great candidate for plants that will likely survive in your particular climate. Buying plants at a big box store means the plants come from all over the world and they may not thrive in your climate. Besides, I’m the kind of gal who likes supporting local businesses over big box stores anyway.
And then there is the carbon footprint thing but that’s a post for another day.
Bone up on your plant knowledge
Read any labeling that comes with your plants. I like to gather up all of the plastic plant markers and punch a hole in the top center. I then string these on an office binder clip and mark the year on a blank tag. This way I have the plant care information handy should things begin to look sad.
Research the plant names. There is a ton of information on the web. I find that elephant ear plants won’t over winter outdoors here but I can bring them inside over the winter and then put them back out in the spring and they do just fine. OR you might dig up the tubers in the early fall and over winter them so they can be planted again next year. Tips and tricks like that can save you a mint!
Planting
It took us a while to get to this point, huh? Now it is time to plant.
Read the plant information to determine how deep to plant and how far apart.
You can plant more tightly for plants that vine and spill over the side of the pot. A little less tightly for plants that live in the pot whose leaves will take up space.
Leave 1-2 inches of space between the top of the soil and the top of the pot so that the water doesn’t overflow the pot during watering taking a good bit of soil with it. And making a big mess!
Maintenance
Set up a regular watering schedule – ideally, early in the day.
Deadhead or pinch of spent blooms as they appear. This keep the plant producing new blooms and not sending valuable water and nutrients to spent flowers.
Some flowers will produce seeds with their spent blooms – like marigolds. Save the seeds in an envelope with the name of the plant and the year written on the outside. You can save these seeds over winter and plant them next year saving yourself some money.
Flowers that grow taller in flower beds – such as cone flower, black eyed Susan, or daisies – can do quite well in a pot if they are trimmed down a couple of times before you allow them to bloom.
Water every couple of days in cooler weather and once a day in hot weather. The diaper in the bottom will keep you from having to water twice a day in the heat of the summer.
Fertilize again in the middle of the season to keep plants going until frost.
Do you have some container planter tips to share? I’d love to see what you do down below in the comments.