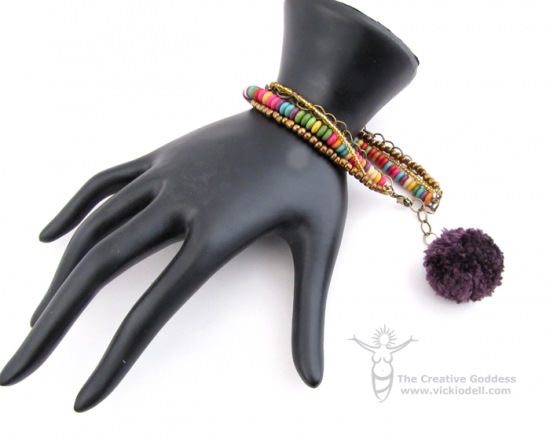
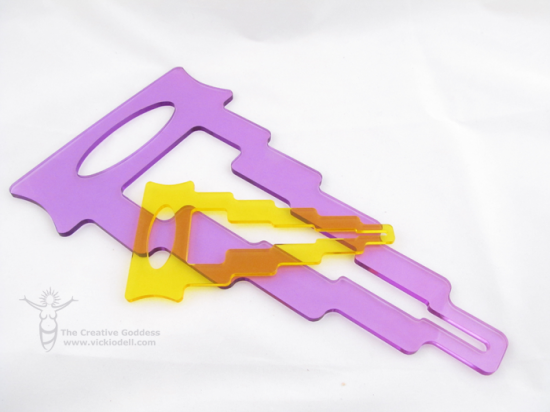
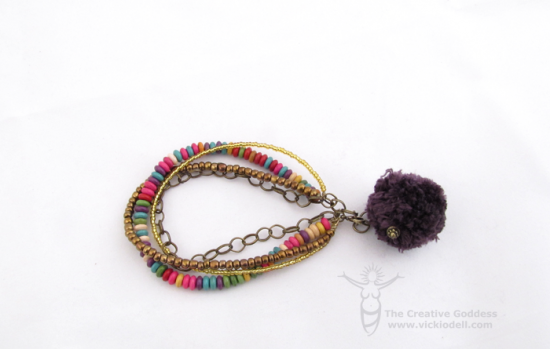
Recently my friend Pattie sent me her pom pom making tools to try out and I went a little pom pom crazy.
Trust me when I say this is not the only pom pom that I made. I have a fun Easter project to share with you next week.
I also plan to shoot a little video next week showing you how to use it because you won’t believe how easy it is unless you SEE it for yourself.
The PattieWack PomPom Tool is great because you can make several sizes of pom poms with just one of the tools.
I like that they are made out of sturdy material so I don’t have to worry about my tool bending and warping like it does with say a cardboard tool.
I gotta say, it took me a little while to remember how to make a pom pom that wouldn’t fall apart but once I got the hang of it I enjoyed this handy tool. It’s one I plan to keep hanging in my studio where I can get to it easily.
To make the bracelet I used:
- PattieWack PomPom Tool
- Yarn
- Copper “E” beads from Cousin Corporation
- Colorful disc beads from the recent bead show haul
- Glass seed beads from my stash
- Lobster clasp
- 2 4mm jump rings
- Chain
- Beading wire
- Copper Crimp tubes.
- Decorative headpin
- Stringing wire
How to:
- Determine the length of the bracelet and add 3-4 links then cut the chain to size. Add a jump ring with the lobster clasp on one end.
- 3-4 links in from the other end add the other jump ring for the closure.
- String the small glass beads and attach to the two jump rings and crimp closed. Repeat for the small glass seed beads and disc beads.
- Create a small pom pom.
- Attach the pom pom by feeding the headpin up through the center and creating a wire wrapped loop.
- Attach to the last link of the chain.
Disclosure: Some product provided for my use. All opinions are honest and my own.


