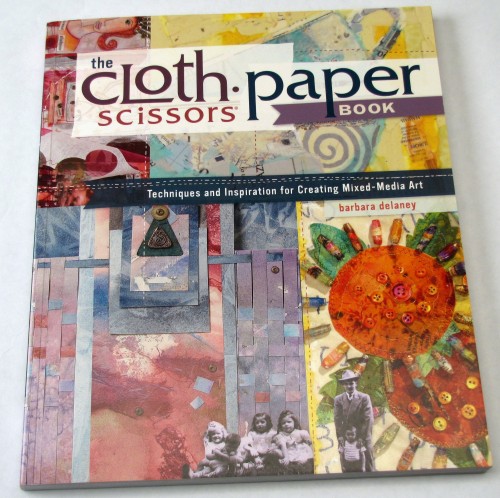
I have a book review up today over on Craft Test Dummies for The Cloth Paper Scissors Book- be sure to go over and check that out!
I really enjoyed the book and plan to make a few projects from it.
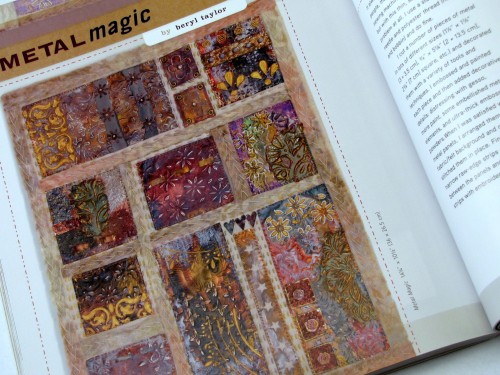
I was totally smitten with this embossed metal project by Beryl Taylor and decided I had to try that one first with supplies I had on hand.
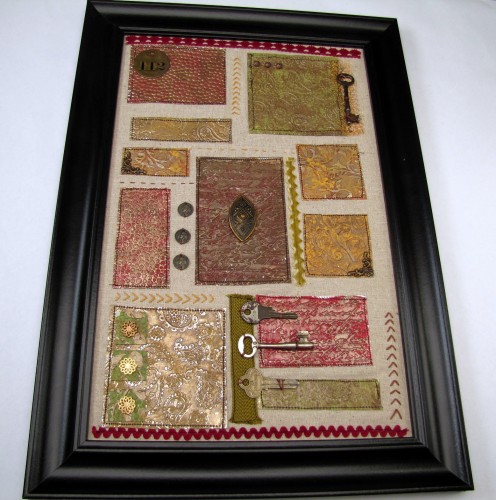
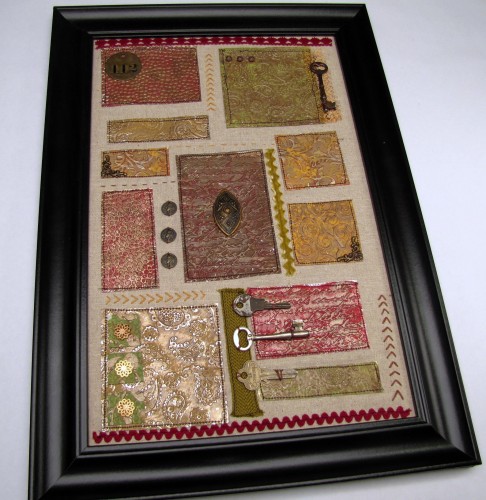
And this what I made.
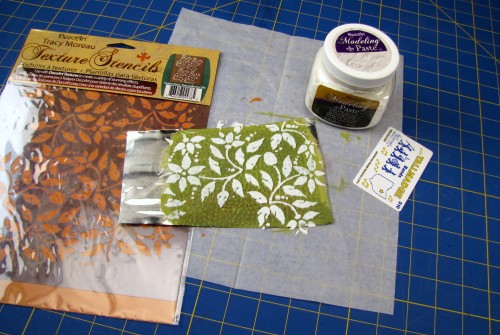
I haven’t done anything quite like this before and I had a great time with it. I thought I’d share with you today some of the supplies I used just in case you want to make a similar one.
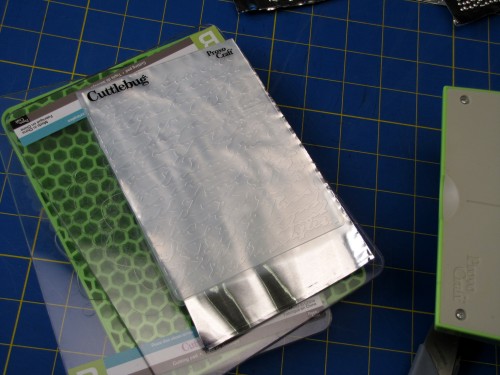
First off, to emboss the metal I took the easy way out. While I LOVE to emboss metal by hand – there is something very relaxing and meditative about it – I chose to emboss the metal this time using the Cuttlebug.
Notice that the shiny side is up and you can see the Cuttlebug name? That’s how you want to put the metal into the folder for EMBOSSING. Flipping the folder over will DEBOSS it but that’s a project for another day.
After painting the embossed metal with acrylic paint in colors like Hauser Light Green, Wasabi Green, Persimmon, Cafe Mocha, Spice Tan, Red Velvet and Metallic Sahara Gold I used DecoArt Modeling Paste, a DecoArt Texture Stencil and an expired band card to add another layer of texture. The process for how to do this is explained in the Cloth Paper Scissors Book.
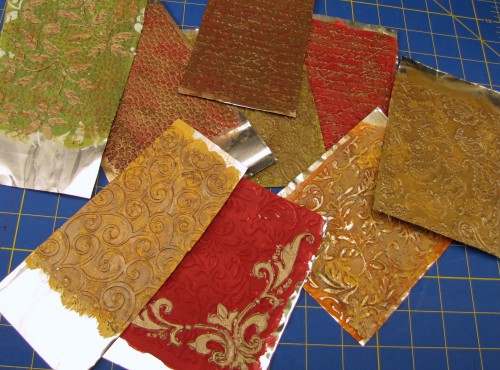
Here is my pile of metal.
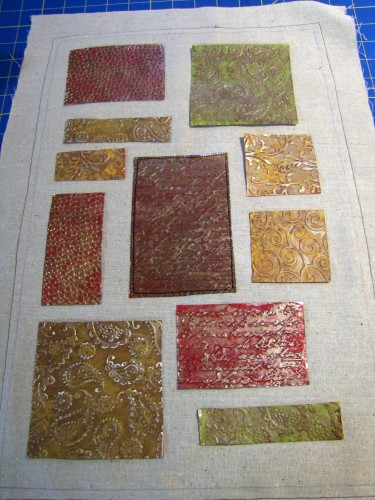
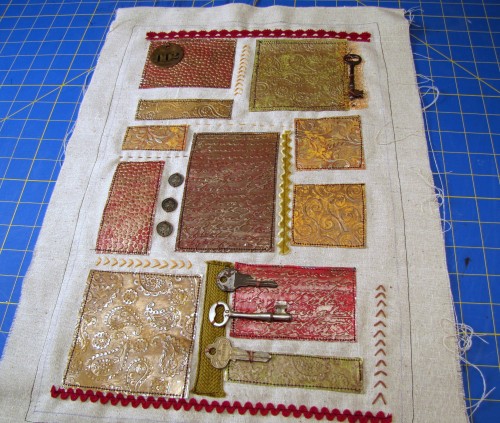
Here the metal pieces are cut to shape and you can see in the center where I sewed it down. All of the pieces got sewn down on a piece of osnaburg fabric.
In case you are wondering… I did bend one needle but only because I tried to sew over an area I had already sewn in. Otherwise my machine handled it like a pro!
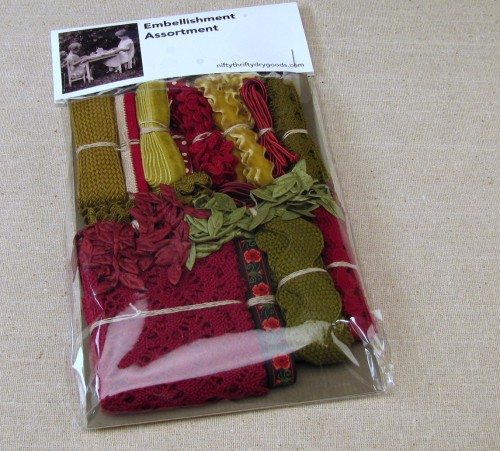
All of the fabric embellishments are from this super website called Nifty Thrifty Dry Goods. The site owner sent me a few packages to try out and I have to say that I am VERY PLEASED with both the QUANTITY and the QUALITY of the embellishments in the packages. Beautiful!
Here is the piece in progress. I have lots of antique keys stitched down with embroidery floss, a small bit of WireKnitZ (in the upper right corner under the key), metal “coins” from a package of scrapbooking embellishments and stitching with embroidery floss.
Some other supplies include; 3 filigree flower buttons (bottom left) from Buttons Galore and More, a large shield shaped button (center) from my stash and 3 brass finished beads (upper right corner) from Cousin Corporation of America.
I placed the fabric on the cardboard insert that came with the frame and centered the design. I flipped the piece over and taped the fabric to the back of the cardboard with masking tape. Then I simply put the whole thing in the frame, backed it with another piece of cardboard and bent the metal tabs down to hold it all in place.
I really liked the way this turned out and I can’t wait to dive back into the book for my next project.
If you’d like to buy The Cloth Paper Scissors Book I’d love it if you went through my affiliate link at amazon.com.

Love the process although I make Modern Abstract Metal Wall Art the development is simular
Keep up the good work