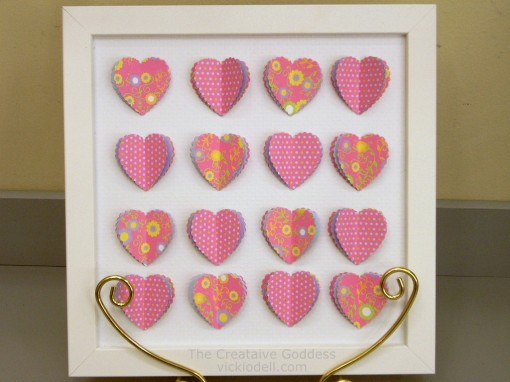
Super cute and super easy wall art that you’d pay a fortune for at the home dec store, made by you, at home for your home. Nice!
8×8 inch frame
Two different scrapbooking papers – mine are from the Scrappy Cat line and are a solid, but coordinating, color on the back
Marvy Uchida heart paper punch
Zip Dry Paper Glue
Bazzill Basics Dotted Swiss card stock in white
Piece of chipboard or mat board the size of the frame
I used the chipboard that came with the frame as a pattern and made a second chipboard piece that fit in the frame. I also cut the Dotted Swiss card stock to fit inside the frame and then layered everything in the following order from front to back; Swiss Dot, Chipboard, the glass from the frame, and chipboard. Then I put the prongs back in place to hold it all in.
I did it this way to give it some strength because I didn’t know how heavy all of the hearts were going to be and also as a place to store the glass so that it doesn’t get broken…because you KNOW I’ll want to take this apart later and do something else with it!
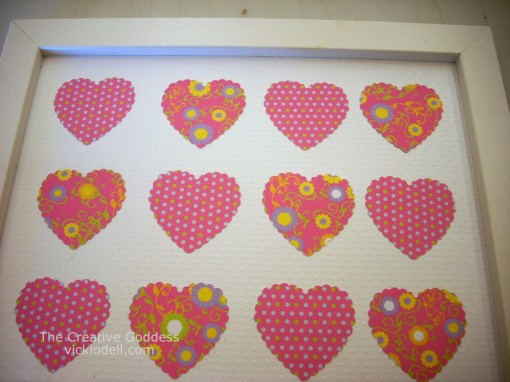
Punch out 8 hearts from each paper, arrange them on Bazzill Basics Dotted Swiss background.
I didn’t measure to make sure they were exactly the same distance apart. The dots on the background help with lining things up but really, I just guessed.
Lay them all out and decide where you want them and then pick them up one by one and glue them in place with the Zip Dry. A gum eraser will help you remove any glue that gets on the background if you move the heart around a tiny bit.
Next punch 16 more hearts out of each paper.
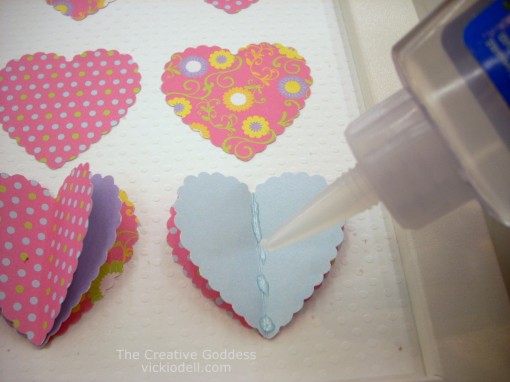
I made the middle layer the solid color. I used the same paper that is on the first layer, face up. I turned it over, folded it down the middle and then ran a bead of glue down the center. I then glued it on the base heart, solid side up.
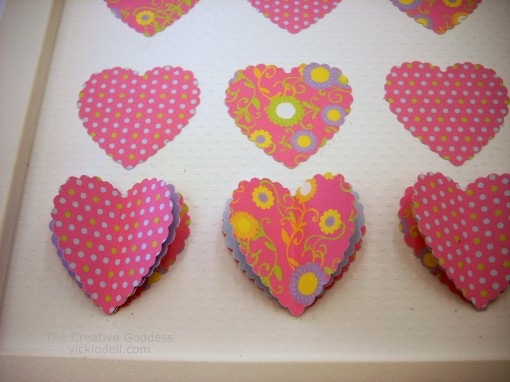
The third layer is the designed paper again. I put the different design on the original. Flowers on dots, dots on flowers.
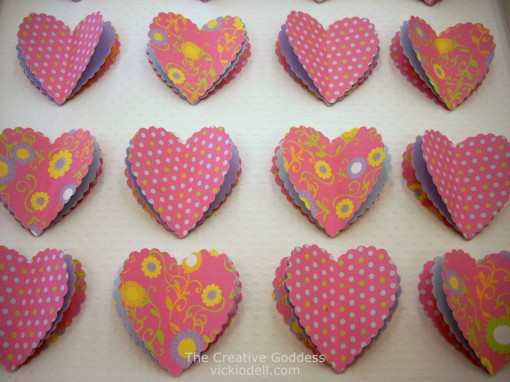
Again, folded in half, run a bead of glue down the center and then glue the hearts to the center of the first two layers.
I like this look, it reminds me of a quilt, and if it’s in a room that has pastel decor it could stay up all year if you like.

Thanks Ellie for your comment. I’m glad you like it. If I hadn’t given it away already I’d send it to you just for saying such nice things. (Gosh, bloggers love a good comment!)
I love to hear it when something I share inspires people to make something of their own! I’d love to see the project my post inspires. I may even share that one on the blog if that’s ok with you!
Good luck with your crafts and thanks again for the sweet comment.
This is really quite sweet and gorgeous at the same time. If I hadn’t already started four things I hope to finish before 2/14 (and for me, a non-crafter that’s insanity already) I would so do this. But you did give me an idea for the scrapbook paper I purchased but HAD decided to not use.
Lovely!