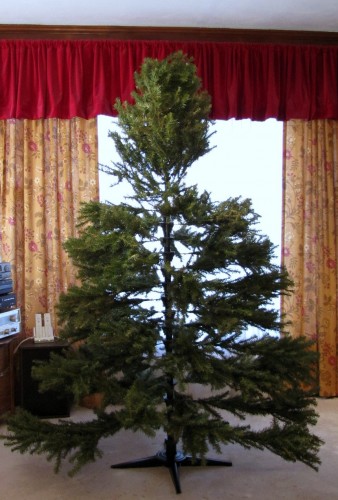
Behold the Christmas Tree right out of the box. It’s a pitiful thing.
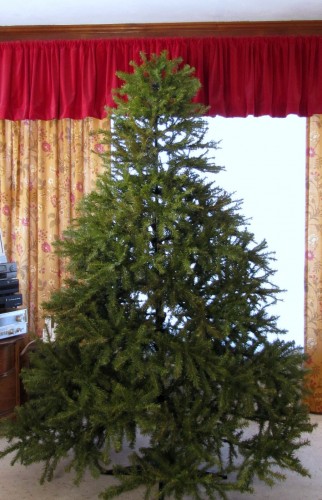
An hour later. Each and every branch has been touched, reshaped and the tree is filling in nicely.
The first thing I put on the tree is the star at the top. I run the cord down the trunk and get it all hidden away. You may want to tape the cord to the trunk just to make it more sturdy.
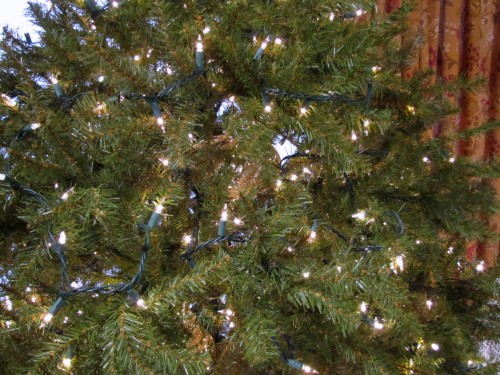
For the lights I start at the top of the tree. I go from the trunk, out to the tip of the branch and back into the trunk again. I don’t hit EVERY branch but most of them. I don’t worry too much about the cords showing at this point as they will be hidden once all of the ornaments are on.
Make sure to test the lights to make sure they are working before you start adding them to the tree and turn them on and step back from the tree every so often to make sure you aren’t leaving big unlit spaces in the tree.
Next,I start tucking in really large gold, sparkly ornaments near the trunk; closing up all of those big holes and open spaces. The large ornaments also add another layer of sparkle to the tree as the lights reflect off of them. In the end you don’t see the whole ornament…just a lot of sparkle!
At this point I stopped taking step by step photos of the process in order to just “get the darn thing up!” 🙂
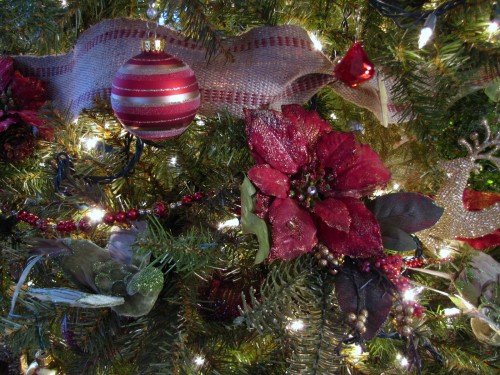
After the lights I add garland. This year I used furniture webbing and I wired it into the tree. I tucked it in medium-deep and then brought it to the front.I also used one red and gold “fancy” beaded garland.
Next up; floral picks. You can use ones you find at the craft store all ready to go or you can create your own by taping various elements together with floral wire and tape. (See the video I made on YouTube Floral Wire and Tape)
I sort all of my glass ball ornaments by color and put them on. All of the red ones first, so I can make sure they are evenly spaced and then all of the green ones.
I add the other ornaments the same way. I sort them all out, see how many I have of each and then add them to the tree evenly spaced. I put the ornaments, bigger ones deeper in the tree and the smaller ones out toward the middle and ends.
Finally, I add teeny, tiny ornaments to the tips of many branches. In this case I had small gold balls in a matte and shiny finish plus red “jewels”. They are like little dangly earrings for my tree! 🙂
Step back and take a final look. You may want to move a few things around to close in some open spaces. Give the whole thing a “once over” from top to bottom.
After the tree is finished I do a quick vacuum and then pull out the tree skirt. I usually get someone to help me (me on one side and them on the other) slide the tree skirt under the tree.
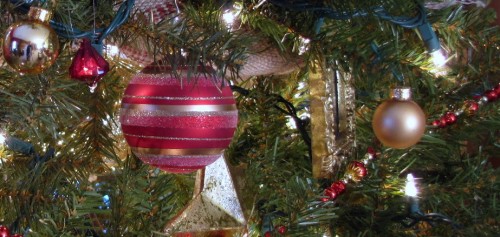
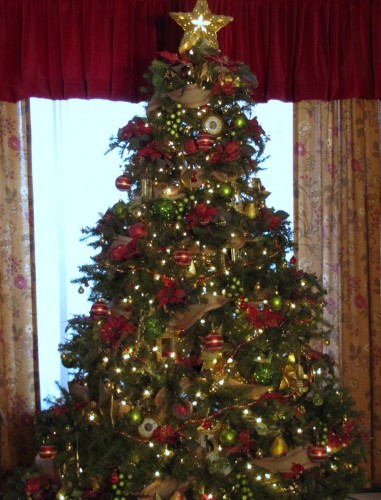
This is what my tree looks like so far this year. I’m not entirely certain I’m finished with it yet.
I can still see branches so maybe it’s not finished? LOL!

Wait!!! Where’s the finished tree???
D’OH! How could I forget a finished shot? I edited the post and put a photo of what it looks like at this point. Not sure if it’s finished yet. Thanks for catching that! 🙂