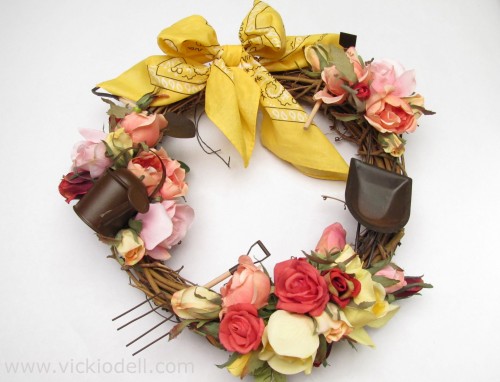
How to Make a Summer Wreath with Miniature Garden Tools
I’m more of a fall and spring gal, not a big fan of extreme temperatures either way. BUT I am a big fan of decorating for the seasons and enjoying everything about them as much as possible. I enjoy tending my rose bushes and small vegetable garden in the cool hours of the morning. It has become a sort of working meditation and I almost always feel much calmer and happier after a couple of hours tending my 2 acres.
What better way to celebrate summer and the growing/gardening season than with this Summer wreath? It’s small size makes it perfect for windows and interior doors. It would be a lovely handmade gift to take to a friend or family member who can’t get out much any more. A nice way to bring a little of the garden INSIDE.
Supplies:
Gold Paisley Bandana
Cloth Covered Floral Wire or cover floral wire with floral tape
Wire Cutters
“Silk” flowers
(All links go to consumercrafts.com as this post was first published there. I do not get paid to post these links here…they are provided as a help to YOU.)
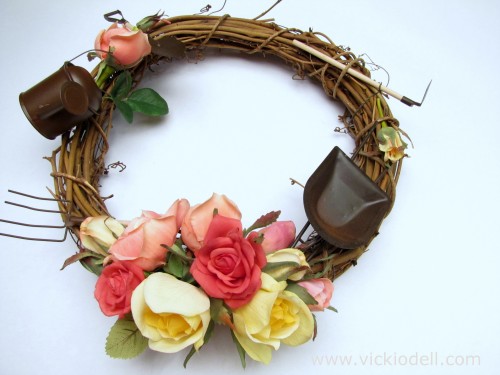
I always begin wreaths by laying out some of the items I have to work with around the perimeter of the wreath to get a good idea of where I want to place them.
The flowers I used in this project are from my stash of flowers that have been left over from various floral projects but you can pick up mixed flower bushes at lots of craft stores. I’ve even seen them at the dollar stores!
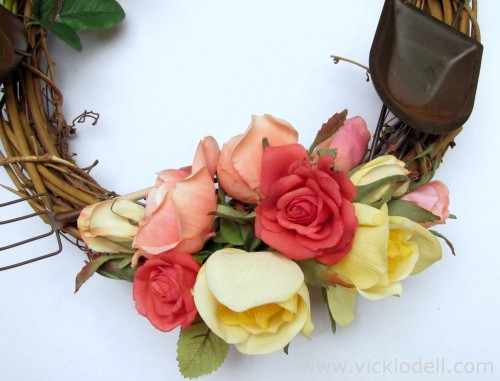
Once you are happy with the basic layout begin wiring the watering can, wheelbarrow and garden tools onto the wreath. Wrap the wire over a bit of the item and give it a couple of twists to secure and then feed the wire into and between the grapevine and twist the ends together in the back. Cut the wires short and then work them into the grapevine so they are less likely to scratch walls and doors.
I found the the handle of the tools wanted to slip inside the wire that was wrapped around the handles so I gave them a dot of glue and glued them to the wire to keep them in place.
To make the bandana “bow” I folded the bandana in half, point to point, and using my rotary cutter cut a 3 inch section out of the middle.
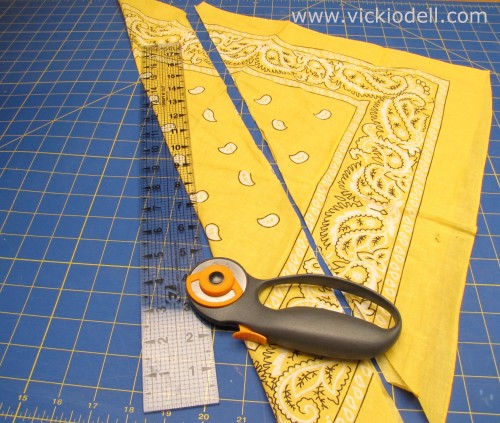
When you open it up it will be 6 inches wide with a finished point on each end.
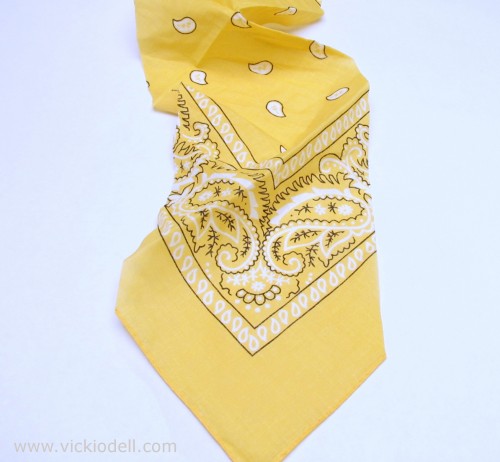
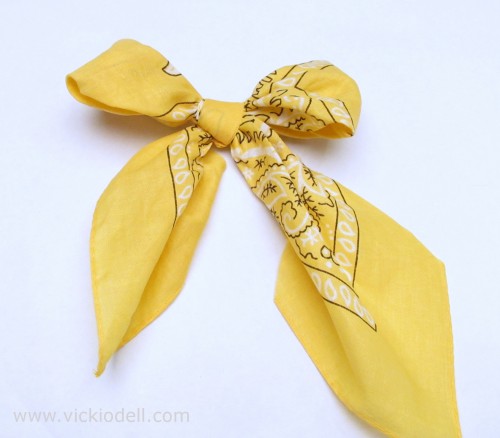
Tie into a bow. Don’t worry about it being perfect or the ends being the same length.
Cut the left over corners and wrap the covered wire as shown above.
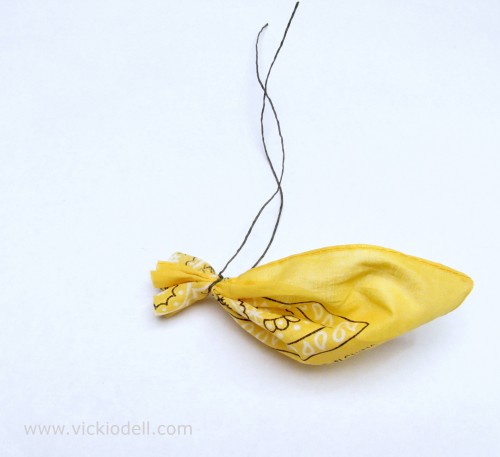
Wire the two tails onto the wreath and then wire the bow on top of them. Adjust to your liking.

To finish up, make sure all of the flowers are glued securely using your hot glue gun helpers to push the hot glue into the areas that you need it.
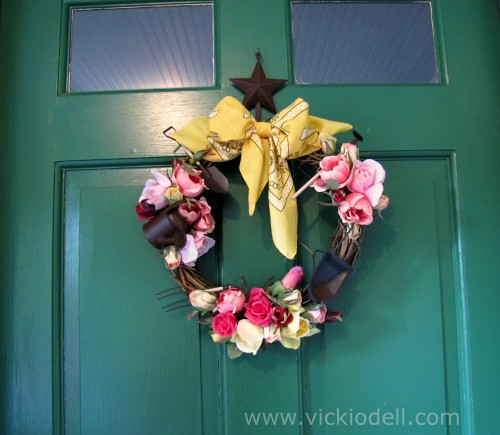
Keep in mind that with the bandana bow this wreath will look nice much longer if it’s kept indoors. Unless you like the SUPER shabby look, that is.
If you wish to put your wreath outside you might want to make a bow with more weather proof ribbon.
Use the small 3D star wreath hanger to hang your new creation.
