I attended Adventures in Stamping here in Akron last weekend and picked up some new products to try from Globecraft & Piccolo. I’ve been having fun creating unique paper crafting embellishments and I thought I’d share some of my impressions, results and techniques.
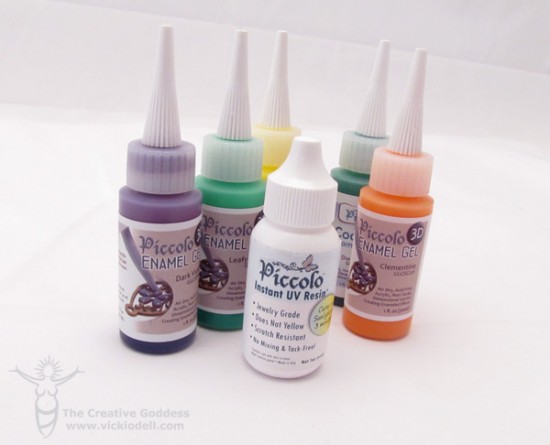
This is what the website says about the 3D Enamel Gels:
These dimensional gels are fabulous for getting a thick, round, embossed and enameled effect on your project.
The gel is applied directly from the bottle which makes applying it quick and easy.
You’ll get the same “3D” effect of the enamel powders but enamel gels require NO HEAT and have no powder, you apply it directly from the bottle!
I also purchased the newly released Instant UV Resin which cures in 3 minutes under a UV light. ( I bought my UV light at the show but you can pick them up at places like Sally Beauty Supply for around $60).
The really great thing about resin that cures in 2-3 minutes (2 minutes for a hard coat but 3 minutes for a scratch resistant finish) is that you can layer and layer and have a project finished in a matter of minutes as opposed to HOURS with regular resin.
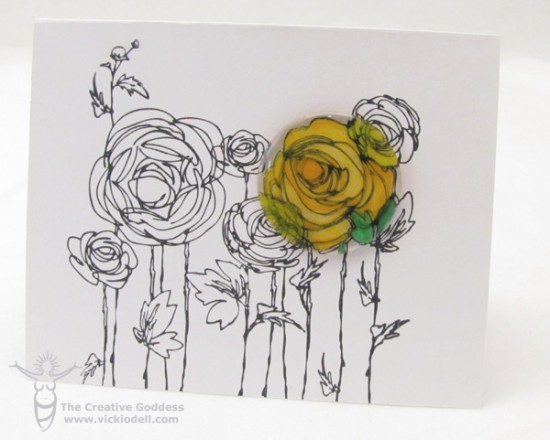
For the card above I stamped the image on the card and then stamped a section of the image on a round acrylic blank. I colored different layers by applying the 3D Enamel Gel either with a paintbrush or directly from the bottle (depending on how opaque I wanted the color to be) coating with resin and curing between coats. I have 3 coats of resin on this piece.
I attached the finished embellishment over the matching section of the background and adhered it with a glue dot.
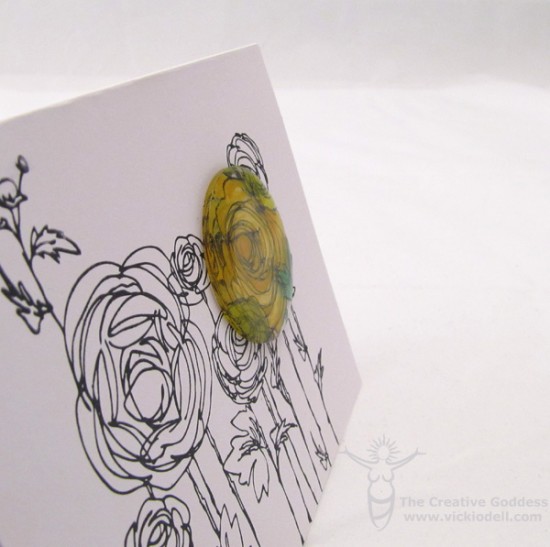
It’s hard to see in this image but you can really see the different layers in the resin in real life. I love the pop of color on the otherwise black and white card. I want to find a stamp that says, “You color my world” or something to that affect.
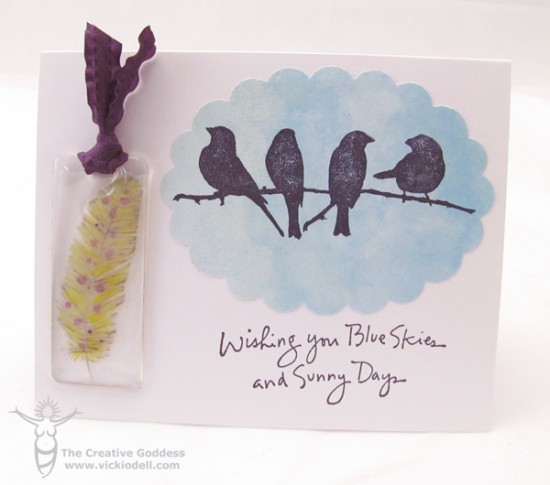
I mentioned this card yesterday in this post: Wishing You Blue Skies and Sunny Days.
To create this feather embellishment I printed the feather out on a piece of tissue paper and adhered it to the acrylic blank.
To print on tissue paper tape a piece of tissue paper to a piece of regular printer paper and then run it through your printer as usual.
I found it easier to get the tissue paper to adhere without bubbles if I spread a very thin coat of resin on the acrylic (I just used my finger) prior to laying down the tissue paper. Then I coated the tissue paper in a thicker layer of the resin and let it cure.
Next I painted the purple dots on using the tip of the bottle and then once that dried I sealed it again with the resin.
Finally, I used a damp paintbrush to layer on the yellow. I created thicker and thinner layers of color to give it some variation and then sealed it again with a final coat of resin.
I threaded a bit of purple ribbon through the opening in the acrylic piece and adhered it with a glue dot.
I really liked the 3D Enamel Gels and the UV Resin. It was easy to create several different paper crafting embellishments in a couple of afternoons. The UV Resin goes a long way andI have several other pieces finished. I will have card making embellishments at hand for a while now.
What I liked about these products:
- Quick results
- Great colors
- Air bubbles in the resin are easily removed with a short visit with a heat gun.
- No offensive odor
- Self doming and easy leveling with the resin
- The 3D Enamel Gel dries quickly
The only thing I didn’t like was that I needed more colors of 3D Enamel Gels for some of the other ideas I had.
Have you worked with any resin products yet? If you are feeling intimated by resin this might be a great product to try first.
Disclosure: While I purchased some of the supplies for this post others were provided for my use. All opinions are honest and 100% my own.

Very creative idea! I’ve never tried this product before – looks like fun!
Hi Heather,
It is fun! It’s nice to have a resin that sets up so quickly. You know, for us impatient types.
Love these cards and how you embellished them, Vicki! I’m not familiar with this new line of resins at all, but definitely am adding them to “the list” to try out!
Ha! Laura. You know my “list” is about a mile long now. How about yours?
I have never seen anything like this – SUCH a cool product! Checking it out.
Coolio! I think it can be hard to find. I might start selling some in my etsy shop if I keep creating with it just so folks can find it. Ya know?
That is so cool! These are totally new to me but I LOVE what you did with them. So creative!
Thank you, Kadie! I appreciate the compliment.
Oh wow – those embellishments are gorgeous! What a unique product – I love what you’ve done with them!
Thank you, Kimberly. It’s a fun product to work with because it sets up so quickly.