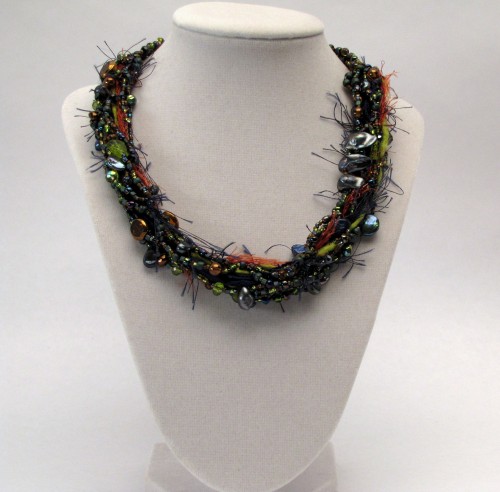
Fibers, beads, and Fireline combine to make a one of a kind free form bead weave necklace to be worn to The 2011 Emmy Awards.
Well, here it is. The idea in my head out in the open for everyone and their dog to see. I’m happy with it even though I know that there are small improvements that can be made. This is actually necklace number 3. It took me three days, A LOT of beads and 11 hours for the final piece (after I had worked out some technical issues). There is something immensely satisfying about taking an idea from your brain and making it 3-D.
It’s hard to explain a project that took that much work and intuition, but I will give you a good idea of how I created this necklace so, if you have a notion, you can make one of your own.
Needless to say, these instructions are meant for people who have some bead weaving experience.
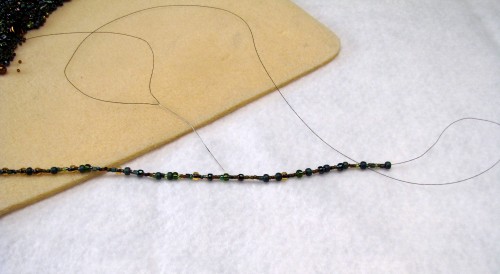
First you will need to determine how long your finished necklace is to be and then add 3- 3 1/2 inches to that number as the length REALLY shrinks up when fibers are added.
I used 8lb Fireline for my project and a Darice Easy Eye Beading Needle (read my post about them here) and randomly strung “E” and seed beads on the fireline.
Only use the small beads for the first several rows.
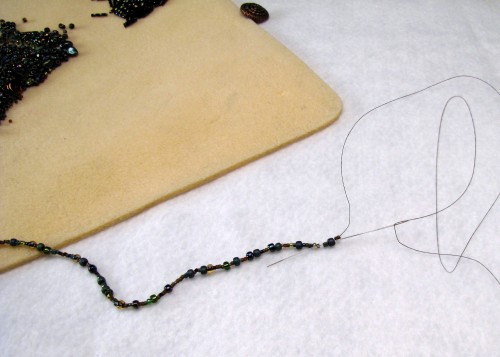
Once you fill the strand with beads you will turn the corner at the last bead and go back through 2-3 beads.
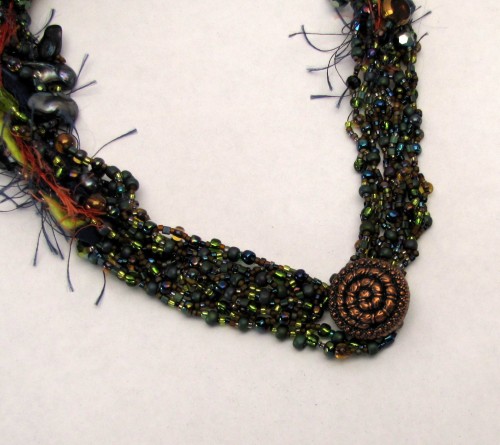
Add 2 or 3 beads, weave back into the first strand for 2-3 beads and repeat for 3 inches. This will help build up the ends of the weave in the back of the necklace.
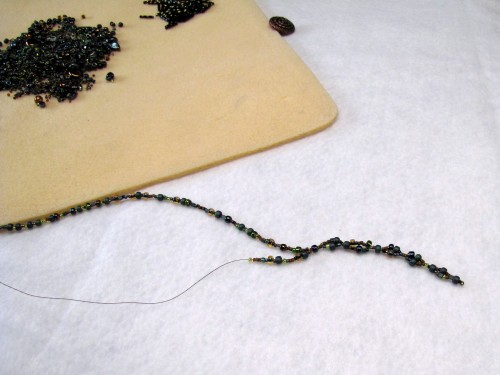
Following the three inches of closely woven beads you will switch to weaving more loosely. 18-25 beads on the fireline, weave into 3-7 beads and back out to repeat.
When you get to the last 3 inches of this second row you will go back to the tightly woven beads.
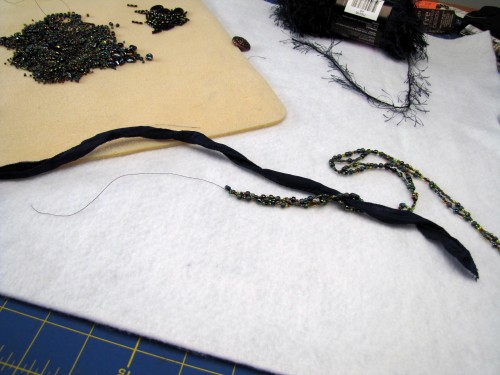
After completing the second row of bead weaving I worked in a length of navy silk. Weave it loosely, but not too loosely, in and out of the loops formed by the beads.
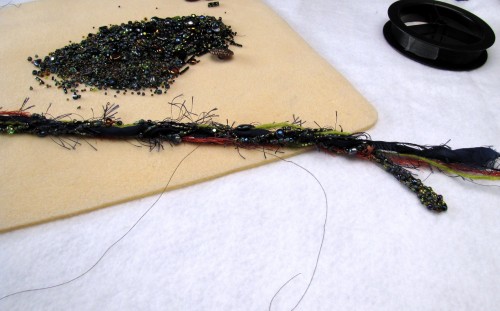
Continue building up rows tightly weaving the beads on either end for 3 inches and loosely weaving in the center. As you build up layers add in other bits of fibers.
Tips:
- Work with thread that isn’t too long or too short. I usually hold the spool at the center of my chest and pull one full arm length – about 1 yard.
- To end a thread tie a knot while you still have 5-6 inches of thread left and then weave the tail through several beads, around and back in a circular fashion. Trim close.
- To begin a new thread tie a knot leaving a 5-6 inch tail, continue weaving as usual and then go back and weave the tail into the necklace. Trim close.
- “Audition” the placement of a beaded strand by putting on beads and then laying the beaded strand on the necklace where you would like to weave it in. This lets you see if you have enough beads, a satisfactory placement of beads and the right color combination before weaving the thread in.
- Hold the piece up often to make sure the beads are laying the way you want them to.
- After a few rows the necklace will let you know which is to be the front of the piece.
- If, once you have the needle woven through a strand of thread, you don’t like the way it looks BACK the needle out instead of sewing in reverse.
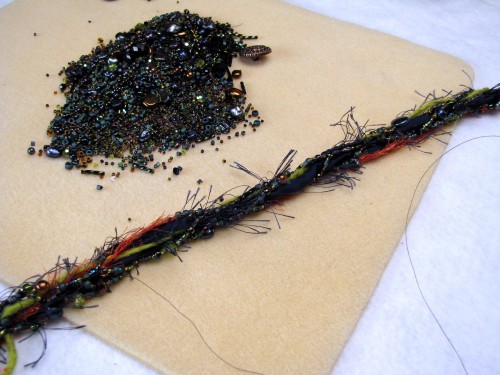
Once you know where the front is you’ll have a better idea of where to place various focal beads.
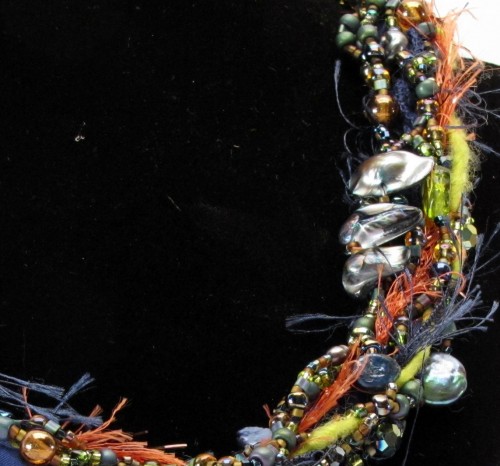
Occasionally pinning the necklace to a necklace form will give you a chance to step back and view your piece from a new perspective. It wasn’t until I put the necklace on the form that my husband pointed out the the eyelashes on the navy eyelash yarn might be a bit too long. I went back in and randomly trimmed the eyelashes and liked it much better.
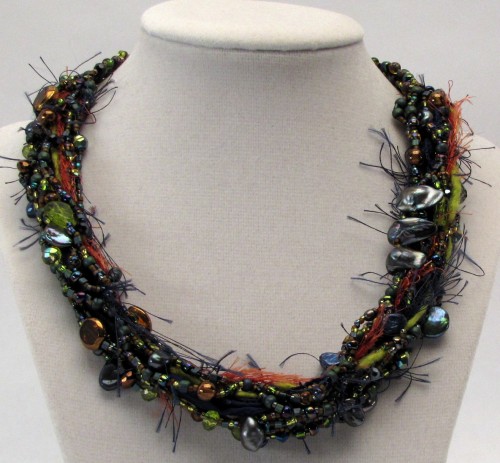
When you think you are nearly finished beading, using a regular sewing needle and the fireline, stitch the ends of the fibers to themselves on the back of the necklace. Stitch in small, close stitches and trim off the excess.
Because of the way I created the ends of the necklace at the same time I created the middle it was easy to go back in and build up one of the ends to create a button hole.
Sew the button into the necklace much the same way you would sew a button on your shirt. Just make sure to pass through the shank of the button several times to make the necklace strong and durable.
Disclosure: The Button on the Closure was provided by Buttons Galore and More. All other supplies were purchased.

I’m so glad that your post from last week reminded me of this tutorial. I absolutely adore the necklace, and now I’ll remember to send folks to your how-to (not just your website) when I get compliments! xoxo
Because you are just stinkin’ awesome like that! 🙂
OMG – that is gorgeous. I wish I was at this level of skill. Gorgeous. Did I say gorgeous!
I just clicked over from Craft- what a gorgeous piece! I love the combination of fiber and beads and would alos LOVE to link to this in my next Jewelry Roundup if you didn’t mind.
Thanks so much Rachel!
I emailed you. 🙂
AWESOME! Thank you for showing how to use fibers with the beads, I’ve always wanted to try this…
Gorgeous! Love the color combination and the fibers- OH, so yummy!!! Nice work, lady!
Thanks a bunch! 🙂
I LOVE IT! How totally exciting for you! My beads have been lying dormant for way too long; I’m going to find time to do something fun with them… thanks for the inspiration!
Pull ’em out lady!! 🙂