I had a little chat with some of the blog readers over on Facebook a week or so ago and I asked them if they would like to see some projects by “Guest Creative Goddesses” and while many of them said they love my projects (thank you very much) they thought it would be kind of fun to see what other creative goddesses are up to.
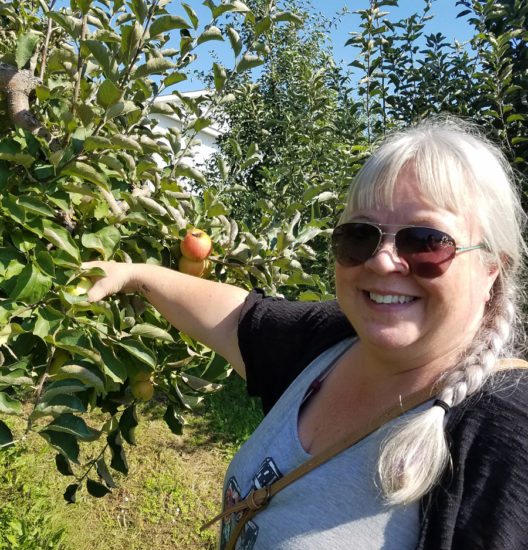
My very first guest creative goddess is the dynamic and super talented Lisa Fulmer.
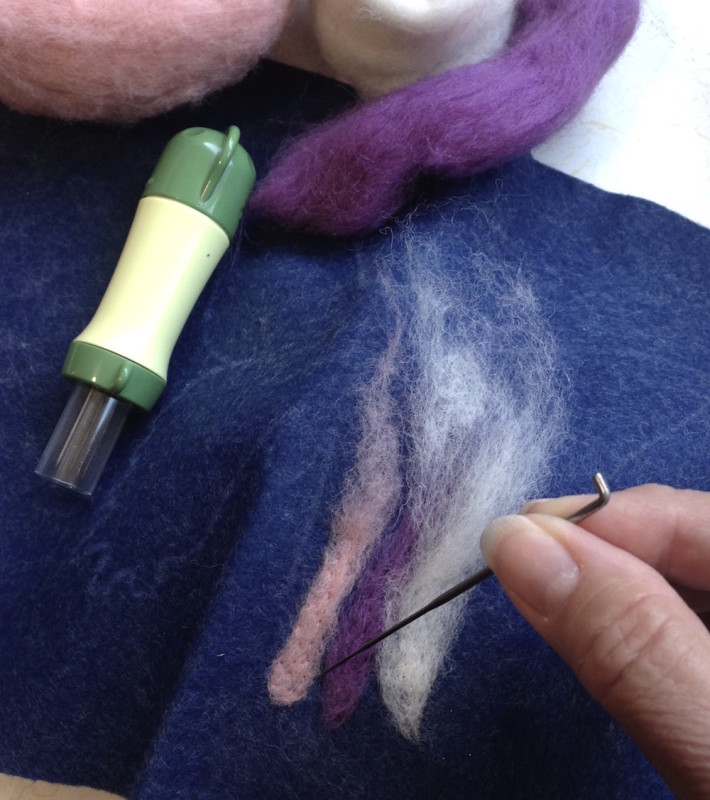
Needle felting is a super fun and easy craft to learn. It’s like painting with wool! Needle felting is a great take-along craft for waiting rooms and bus commutes, plus it’s very relaxing to do. The process involves using a special needle with tiny barbs on the sharp end that lock loose fibers into a surface as you “punch.” Needle felting is a dry craft – different from the wet felting process – you can create beautiful flat designs for pillows, greeting card panels or artistic wallhangings. Click here to watch a helpful (albeit homespun!) how-to video I made for beginners a few years ago.
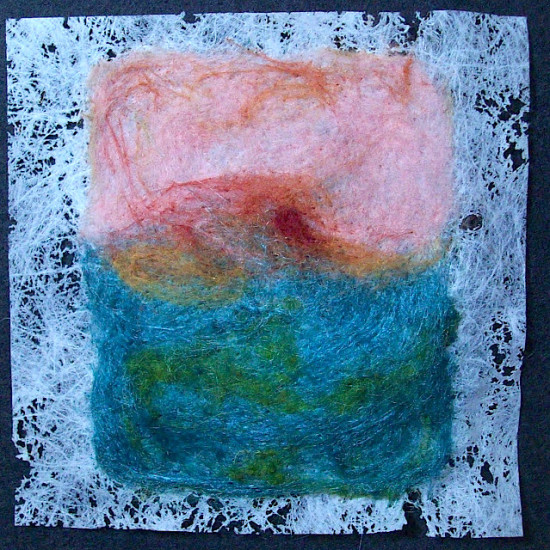
I prefer using wool felt sheets for my surface and wool roving for my fibers because they are nice and nappy, making them easy to work with. But if you’re allergic to wool, you can use regular felt sheets with silk or synthetic roving or thick yarns. I’ve also used sheets of Lutradur or soft sweater knits for a surface. You can also needle felt pieces of felt together without using roving at all.
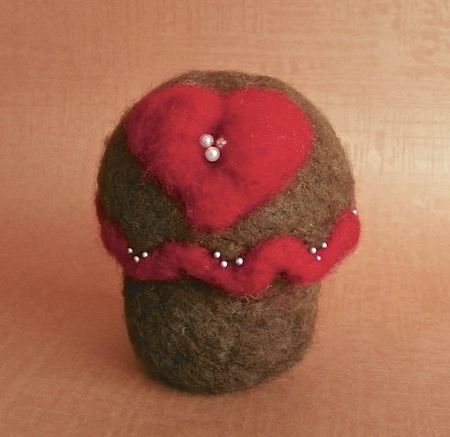
By felting roving to itself, you can create dimensional projects (with or without an armature) like cute little cupcakes or animals. Click here to watch my video about how to make millefiori-inspired wool beads for a bracelet.
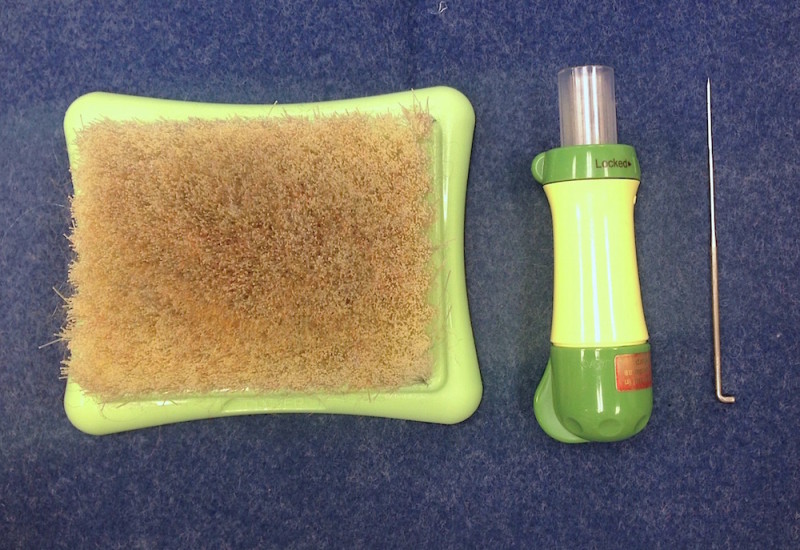
You can work with a single needle to fill in the finer, detailed areas of your design. You’ll also want a multi-needle punch to cover larger areas. You need a flat needle felting brush as a foundation to work on. For larger projects, you can work on a dense piece of upholstery foam instead, as long as you work on top of something thick and sturdy for the needle to poke into smoothly and safely.
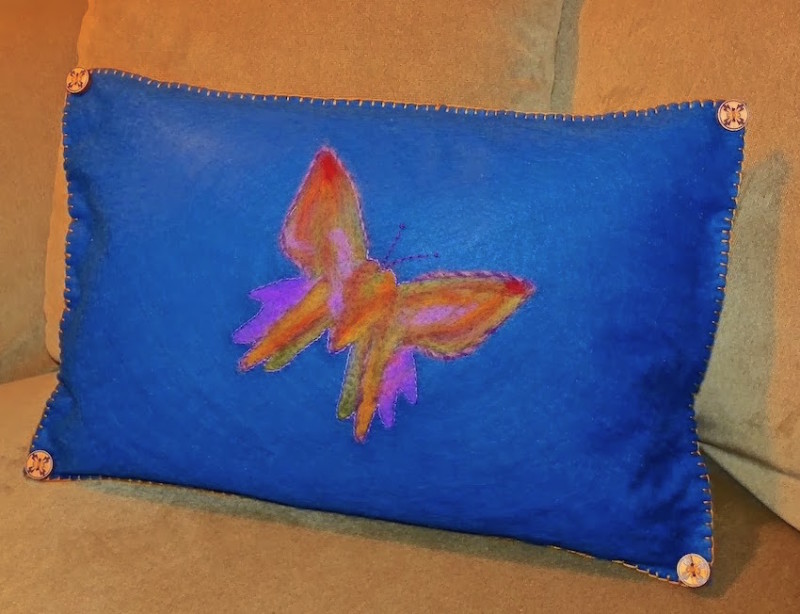
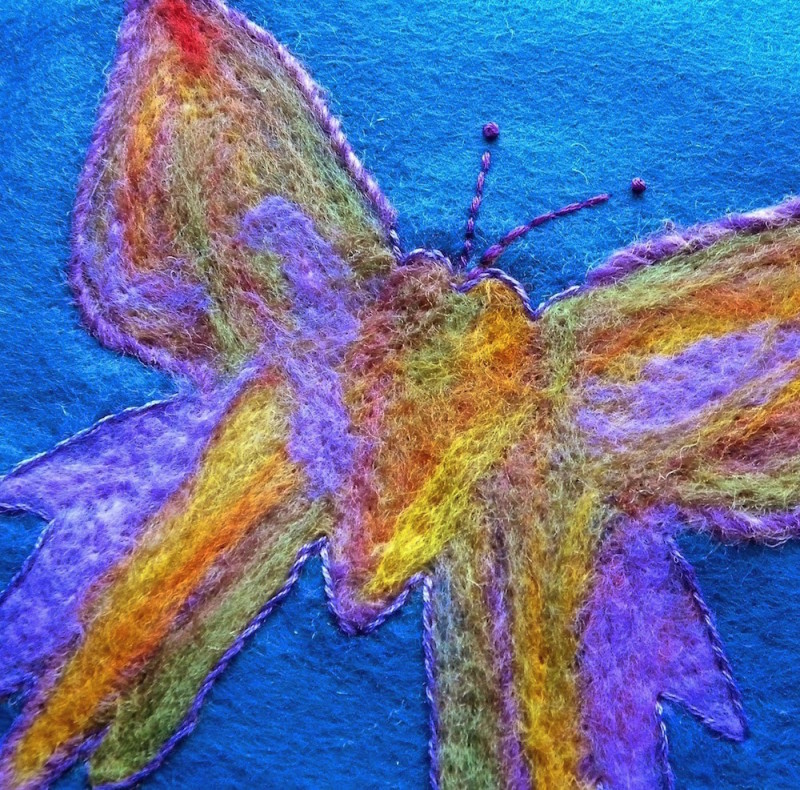
I think what I love most about needle felting is that it’s versatile and forgiving. You can easily correct mistakes or change direction with your design as you go. Wool roving comes in lots of beautiful colors, and you can find gorgeous variegated and hand-dyed roving at knitting and quilt shows. I love how easy it is to work freestyle with my own imagination, or I can use paintings or drawings for inspiration, or I can create super cute designs using stencils for an outline, like this butterfly!
Supplies:
– Handmade Artisan 100% Wool Felt
– Needle felting needles, Clover Pen Style Needle Felting Tool and brush or Clover Felting Needle Mat Large
– Generic Wool Fibre Roving for Needle Felting Hand Spinning DIY Fun Doll Needlework Raw Wool Baize Poke Fun 5g/bag 36pcs Mix Colors in various colors
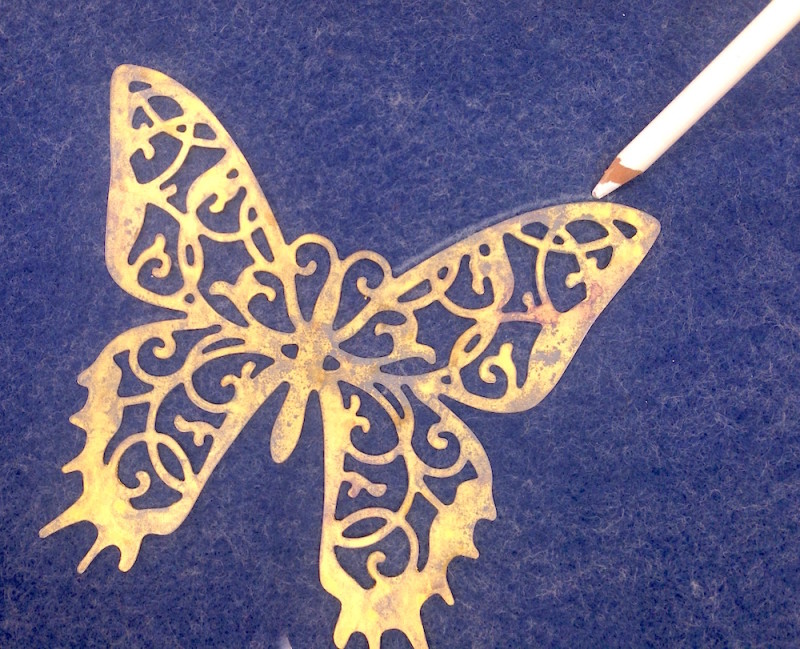
– Momenta Art-C Brass Stencil, Butterfly Mask, 3.5 by 2-Inch
– Water Soluble Chalk Marking Pencils 4/Pkg. White & Silver
– Embroidery DMC 1765-1/5 Embroidery Hand Needles, 12-Pack, Size 1/5 and Cotton Embroidery Floss Pack 8.7 Yards 36/Pkg-Primary Colors
– Buttons
– Mountain Mist Fiberloft Polyester Stuffing, 16 Ounces/1 Pound or a Mountain Mist Pillowloft Pillowforms, 12-inch-by-12-inch
1. Trim two pieces of felt to the size needed for your pillow, set one piece aside. Trace your stencil on the other piece of felt with a white pencil.
2. Place a section of the butterfly on the needle felting brush, image side up. Pinch and pull a few small tufts of roving and lightly tap the fibers into place inside the tracing with a multi-needle punch. Start with small amounts and use a single needle to guide the edges of fibers into place.
TIP: Try to punch the needles straight up and down, perpendicular to the surface. You risk breaking the delicate points when you punch at an angle.
3. Gradually fill in the image area with desired colors, carefully lifting and repositioning the felt on the brush every couple minutes. I went for a more random, watercolor effect with my butterfly. Don’t punch the fibers too much in the beginning – just enough to hold in place. Over-punching small amounts of roving can cause most of it to disappear beneath the surface.
4. If you want to alter the shape of the butterfly, go for it – and that’s another thing I love about needle felting – no rules! Once you like your first pass at filling in the butterfly, punch a little more across the whole design to fully lock in those fibers. Add more small tufts of roving on top as needed to blend or build up your colors.
5. Run an embroidery stitch around the edges of the butterfly with floss or thin yarn (optional).
6. Align the two pieces of felt together, right sides out, and hand-sew three sides closed with a blanket stitch using embroidery floss or thin yarn (you can machine stitch if you prefer). Sew about 2/3 of the last side closed, then add your pillow form or stuffing, then stitch the pillow closed. Sew an accent button at each corner if desired.
Have fun and visit me at LisaLizaLou.com for more crafty ideas!
I hope you enjoyed our first guest creative goddess. Do you think that wool felting is a project you might like to try?
