You probably know me well enough by now to know that when one of my creative friends in the craft industry comes out with a new product I am more than happy to share the news with you all. I love supporting my creative friends in their new ventures!
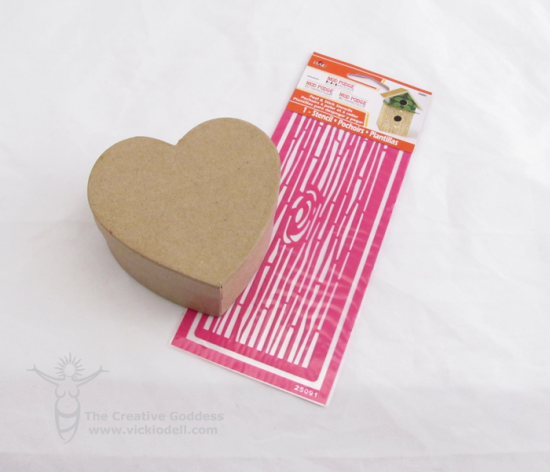
My friend Amy from the blog Mod Podge Rocks has some new Mod Podge stencils with Plaid Enterprises and I thought you all might like to have a peek at them. I chose the woodgrain stencil because I wanted to do something for Valentine’s Day that was more masculine and I figured that woodgrain would be a great element to add.
I had a few of these heart shaped paper mache boxes on hand so I decided to use them.
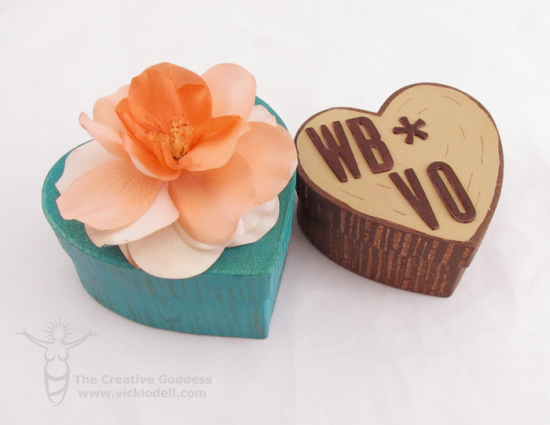
My idea here was to create a gift box that resembled a chunk of a tree limb. A heart shaped tree limb.
Supplies:
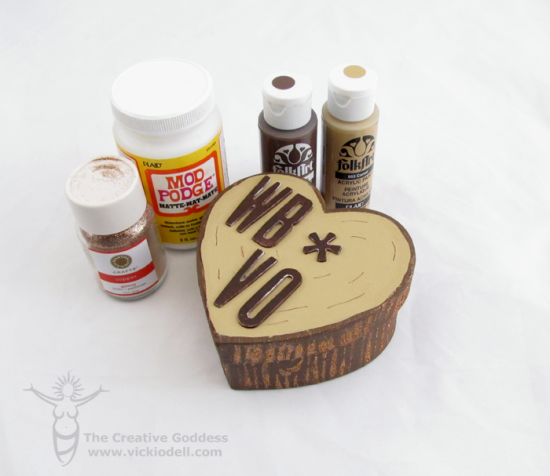
- Mod Podge
- Martha Stewart Glitter in Copper
- Folk Art Acrylic Paint – Real Brown and Camel
- Thickers chipboard letter stickers
- Sharpie Marker – Fine tip – brown
How To:
- Paint the bottom of the box with real brown and set aside to dry.
- Paint the sides of the lid and about 1/4 of an inch around the top of the lid with real brown. Let dry.
- Paint the inner portion of the lid with Camel and let dry.
- Adhere the stencil to the side of the box and paint with Mod Podge. Let set for a minute or two then dust with glitter.
- Move the stencil to another area and repeat until the side of the box and the side of the lid have a glitter woodgrain.
- Paint or ink the chipboard letter stickers and adhere to the lid.
- Add “rings” to the top of the lid.
While I was waiting for the fist box to dry I couldn’t resist starting on a second. This time I wanted to use the woodgrain stencil in a way that was a bit more unexpected.
Supplies:
- Paper Mache Box
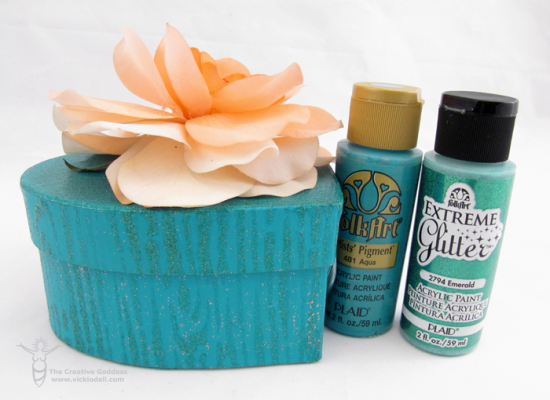
- Folk Art Artists’ Pigment – Aqua
- Folk Art Extreme Glitter – Emerald
- “Silk” Flower
- Hot Glue
How To:
- Paint the base of the box and the sides of the lid Aqua. Let dry.
- Paint the top of the lid with Emerald glitter paint. Let dry.
- Adhere the stencil to the side of the box and paint the woodgrain in Emerald glitter. Let dry a few minutes and then move the stencil to another area and repeat. Continue until the side of the box and the side of the lid has woodgrain all around.
- Glue a flower (or other items) to the lid of the box.
I love the way these little boxes turned out and I can’t wait to give them away on Valentine’s Day! To see the other stencil designs Amy came up with be sure to visit the Plaid website here.
Have you made any Valentine’s Day cards or gifts? I’d love to hear about (or see) what you made!


These are absolutely adorable! I love the wood grain:)
Thank you Ginnie! 🙂
LOVE the tree trunk box. So clever and fun for Valentines. Pinning!
Thank you Kim! 🙂
Love it! I made a bunch of heart boxes myself, this year. They are so fun to use. I love all bright teal and how you used the stencil to make them look like wood. Too fun! Pinned. 🙂
I know, Bree. I love making little gift boxes like this. It just adds something “extra”.
Thanks for pinning! 🙂
These boxes are gorgeous Vicki – thank you so much! Pinning, stumbling, all of it! 😀
YAY! Glad you like them Amy.
They are fun stencils! 🙂