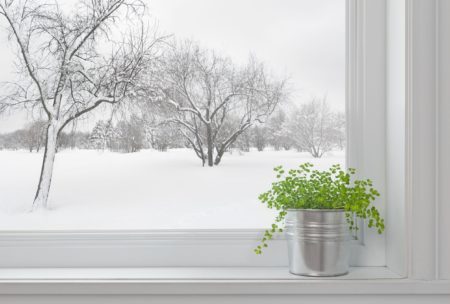
Winter Seed Sowing
Winter seed sowing has become more and more popular over the last few years. Especially in colder climates where the growing season is short. Starting seeds of many common perennials, herbs and annuals is super easy without having to mess with grow lights and other expensive seed-starting equipment.
I’ve been experimenting with winter sowing here the past couple of years, and I have to say, it’s an easy way to start and grow a wide variety of plants from seed. It saves me money at the nursery and I can more easily get the exact varieties of plant I want when starting from seed.
Here is my winter seed sowing routine in a few easy steps.
1. Gather the Materials
You’ll need just a few supplies before you start winter sowing. First, and most importantly, you’ll need a collection of containers. You can use clear, 2-liter soda bottles or gallon milk jugs. Even water bottles can be used! Don’t overlook the clear-lidded, clam-shell style containers. In addition to the containers, you’ll need a bag of good potting mix. I recommend an organic, peat-based mix for the best results. You’ll also need a permanent marker to label your containers and a sharp knife or awl to create drainage holes. Seeds. Of course you’ll need seeds.
2. Prepare the Materials
Begin by cutting a few drainage holes in the bottom of each container. Clean soda bottles and milk jugs should be cut around the middle, about three-quarters of the way around, in order to be flipped open like a hinge. Remove the lids. Next, fill the containers with 3 to 4 inches of damp potting mix.
3. Determine the Timing
For winter sowing to be successful, you’ll need to determine what seeds should be planted and when. Although the timing should be based on your own climate, for my USDA zone 6a garden, I follow this schedule:
- I sow perennial seeds and seeds of cool-season crops, like spinach, kale, broccoli, lettuce, cabbage, Brussels sprouts and chard, in February and March. I begin some the endish of February, wait a few weeks and then start more seeds so I can keep crops going all season.
- In mid-April, I plant the seeds of annuals, such as zinnia, cosmos, and marigolds, as well as my herbs.
- In early April, I sow seeds of warm-season crops, like tomatoes, peppers and eggplants.
4. Sow Seeds and Label Them
Once I’ve separated my seed packets according to the month I plan to sow them, I’m ready to plant. Simply plant them into the container following seed packet instructions. Because the seedlings will be thinned as they are planted out into the garden, the seeds can be sown a little more thickly than suggested on the seed packet. Once the seeds are planted, carefully label them by writing the name on the container with a permanent marker. Water the seeds in gently.
5. Put Them Out
After your seeds have been planted, close the clam-shell lid, or if you used milk jugs or soda bottles, flip the top closed and use clear packing tape to seal them closed. Place the containers outside. There’s no need to put them anywhere special, but a location with good light is best. If you have a lot of mice, squirrels, or chipmunks around you may need to put the containers somewhere inaccessible to them. I put my winter sowing containers in the garden inside my raised beds.
6. Wait
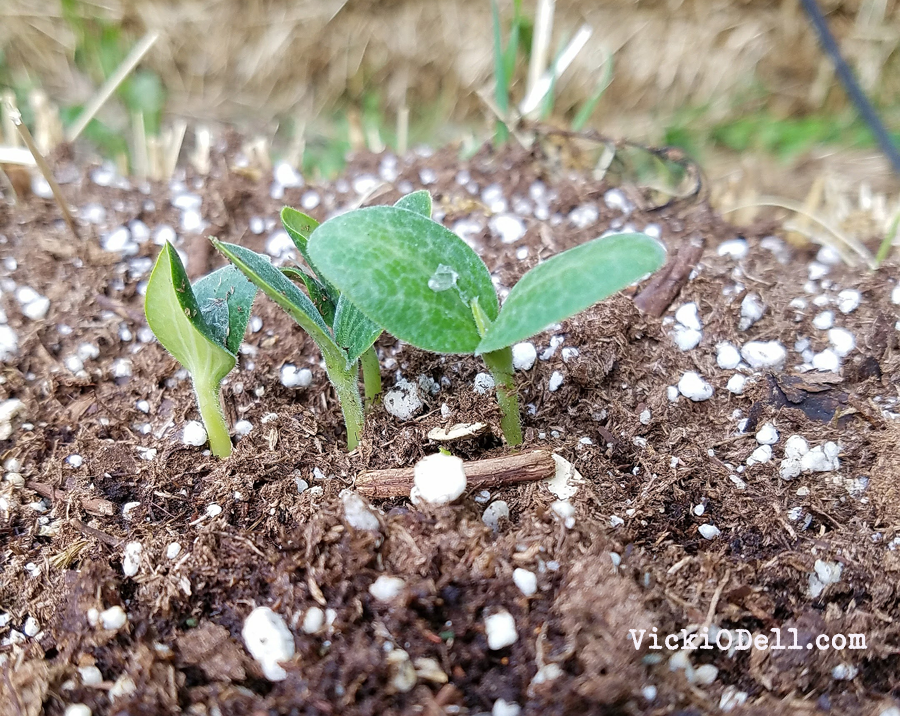
Your seeds will take their cue from Mother Nature and germinate when conditions are right. There’s no need to constantly watch over them – they’ll simply grow when they’re supposed to. The condensation that collects on the inside of the containers is generally all the moisture they’ll need, but if you notice a complete lack of condensation on warm days, you can add some water to the soil through the holes in the lid. Once the weather warms, things will start to germinate. When this happens, you’ll need to start paying a little more attention to your seedlings.
7. Monitor Temperature
On very warm days, you’ll have to remove the container’s lid or flip open the milk jug’s top to keep the seedlings from being baked. Just remember to close them back up at night. Water the seedlings when they become dry.
8. Transplant
When the proper planting time arrives for each particular plant, gently lift the seedlings out of their container and plant them in the garden. For cold-season crops, that’s late sometime in April. For warm-season crops and annuals, I transplant them after the danger of frost has passed in late May.
The nice part about winter sowing is that you don’t have to think too hard about this and it’s a huge time and energy saver. The plants will germinate and grow at the time Mother Nature intended them to.


I had read about this but had forgot about it. Thanks for the article. I plan to try this,but will have to get busy . Planting time will be here soon. I have also enjoyed your articles on slowing down and the need to determine what really makes us happy. I am also trying to practice this in my daily life. Hope things are going well for you and am looking forward to future articles.