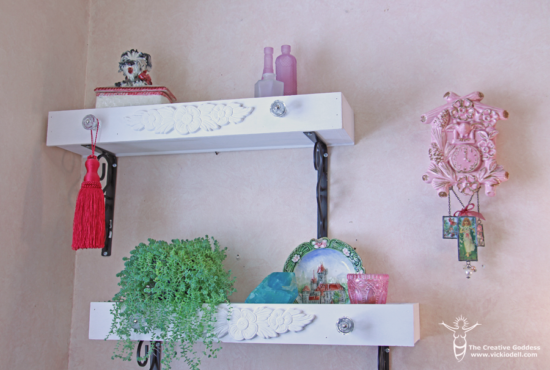
Gosh, I haven’t done much to change up the decor in our bathroom for AGES except for a new shower curtain or two. I mean, I painted that wall when I first moved in – probably in 2000 – that’s a long, long time in my world of constantly changing things up. I did finally get tired of looking at the garden trellis on this wall and decided to create a couple of shelves. You know, something a little more “normal”.
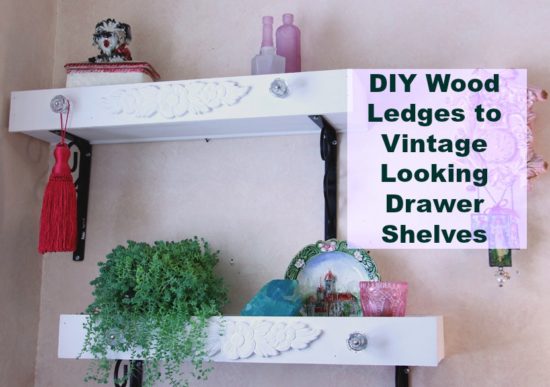
And by normal, I mean not very normal at all.
This post contains some affiliate links for your convenience. Click here to read my full disclosure policy.
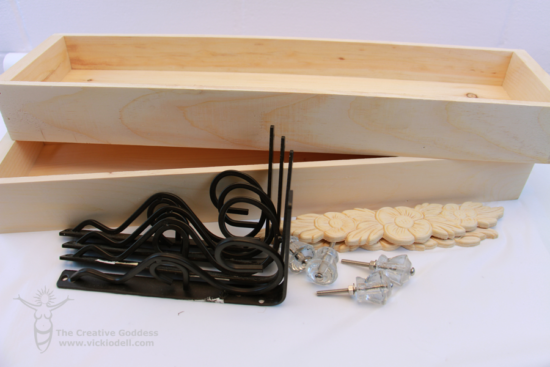
I found these rustic wood ledges on Walnut Hollow website and thought I could work with them but I wasn’t quite sure how.
I liked the idea of still having a little display space and maybe adding a pant or two but other than that, I didn’t have a clear plan.
A few days went by while the idea simmered. And by a few days I mean a couple of weeks. My ideas don’t always come all at once – sometimes just bits and pieces.
And then I thought of drawers, that are shelves, that hold pretty things. DIY drawer shelves. Boom!
Here is what you will need to make a wood ledge look like a drawer:
- Walnut Hollow Wood Ledge
- Small clear drawer pulls like these
- Folk-Art Home Decor Chalk Paint
- Wood decorative embellishment
- Sander and sandpaper
- Wood glue
- Drill and drill bit
- Paint brush
- Metal shelf brackets
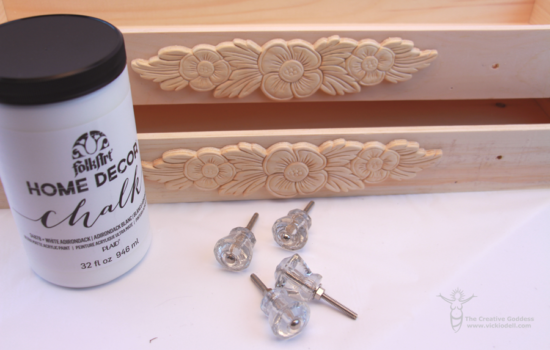
I had to sand down the wood ledge a bit, it was pretty rough, but nothing my palm sander and I couldn’t handle pretty quickly.
Then I found those wooden embellishments – I can’t even tell you where I originally got them, they have been around here for ages. So long that the plastic bag they were in was kind of yellow. Eww. Maybe from some old HGTV show I worked on?
I glued them on the front in the center. Honestly, I just used Aleene’s Tacky Glue and it worked like a charm.
I then determined where I wanted the drawer pulls and drilled holes for the knobs.
Four inches in from the end and exactly centered between the top and bottom if you are curious.
Finally, I gave it a couple of coats of Folk Art Home Decor Chalk paint, added the knobs and the brackets and I was ready to hang.
I chose not to use a wax or other finish on the drawers because a lot of the other elements in this room are very white and I wanted it to fit in.
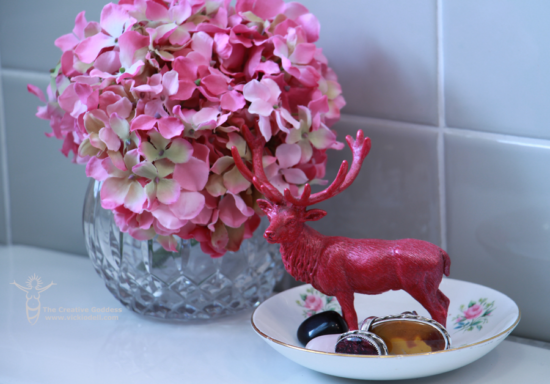
After I got them on the wall I “shopped” around my house and pulled items to put on them.
The deer trinket dish is here.
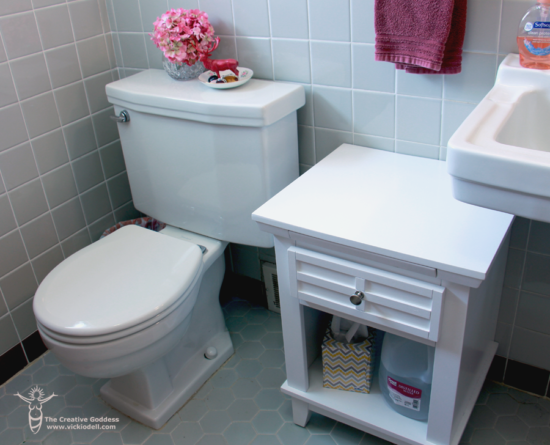
This is our main bathroom and it’s pretty small. There is no vanity, just the sink attached to the wall. So I had a fancy black pedestal near the sink to put my make up bag, brush or whatever on but it got spruced up and moved to the livingroom to hold a plant (4th photo down).
I added this side table from Wayfair to that area and l like it so much better. It has tons of room for more stuff. The drawer holds brushes and I can slide out the tray if I need more room.
I have the same table in my bedroom. I like it THAT much!
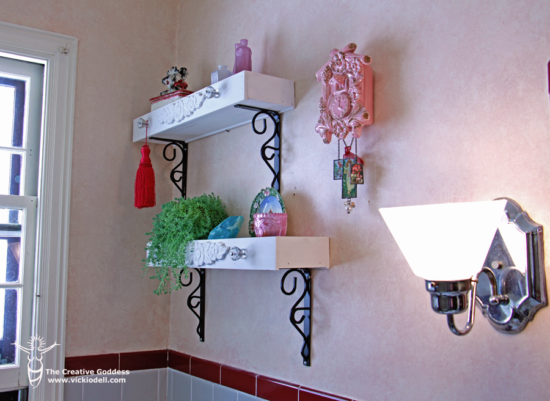
You can read about the planter turned cuckoo clock here.
My next task is painting the walls. I kind of hate to as I’m kid of proud of that wash technique. Up close it looks like paper. But, I’ve added and removed things enough in here that I have holes and marks on the walls. Time for a refresh.
Actually, I’d like to gut the room, take over part of the bedroom next to it and …. well, a girl can dream, right?
By the way, that little plant is Helxine soleirolii more commonly referred to as baby tears.
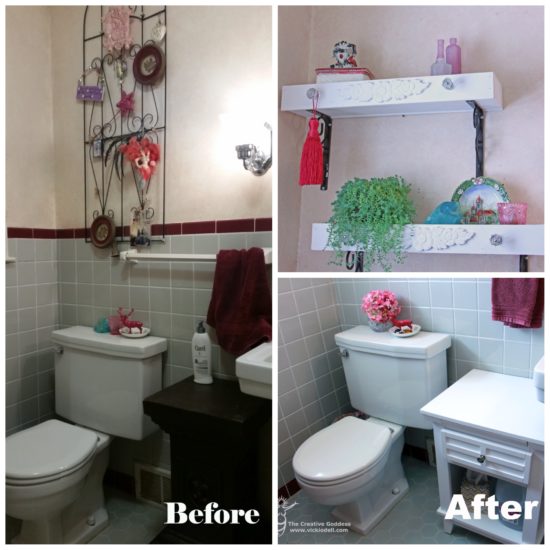
Oh yeah, so much brighter!
And not expensive at all. DIY is the way to go kids!
What is your favorite part of my my bathroom refresh? Share in the comments below.

